How to Check and Replace Your AC Air Filter in 5 Steps

How to Check and Replace Your AC Air Filter in 5 Steps
The Quickest Way to Check and Replace Your AC Air Filter at Home
Knowing how to check and replace your AC air filter is one of the simplest things you can do to keep your home comfortable and your energy bills in check. A clogged filter forces your system to work harder, restricts airflow, and can even cause frozen coils or early system failure. According to the EPA, homeowners should check their filter every month and replace it at least every three months.
Here's a quick overview of the process:
- Turn off your HVAC system at the thermostat
- Locate the filter — usually at the return air grille or inside the air handler
- Remove the old filter carefully
- Insert the new filter with the airflow arrow pointing toward the blower motor
- Restore power and check that airflow feels strong and steady
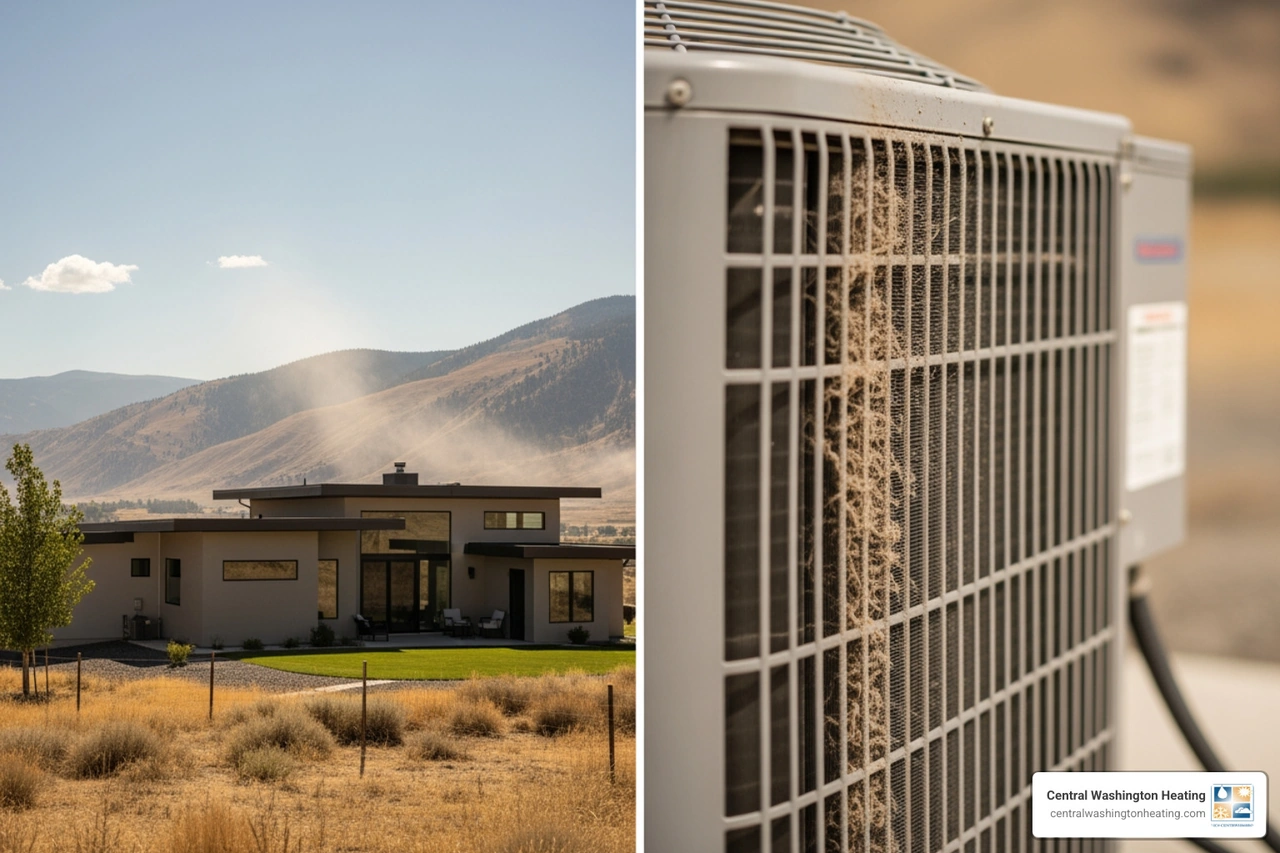
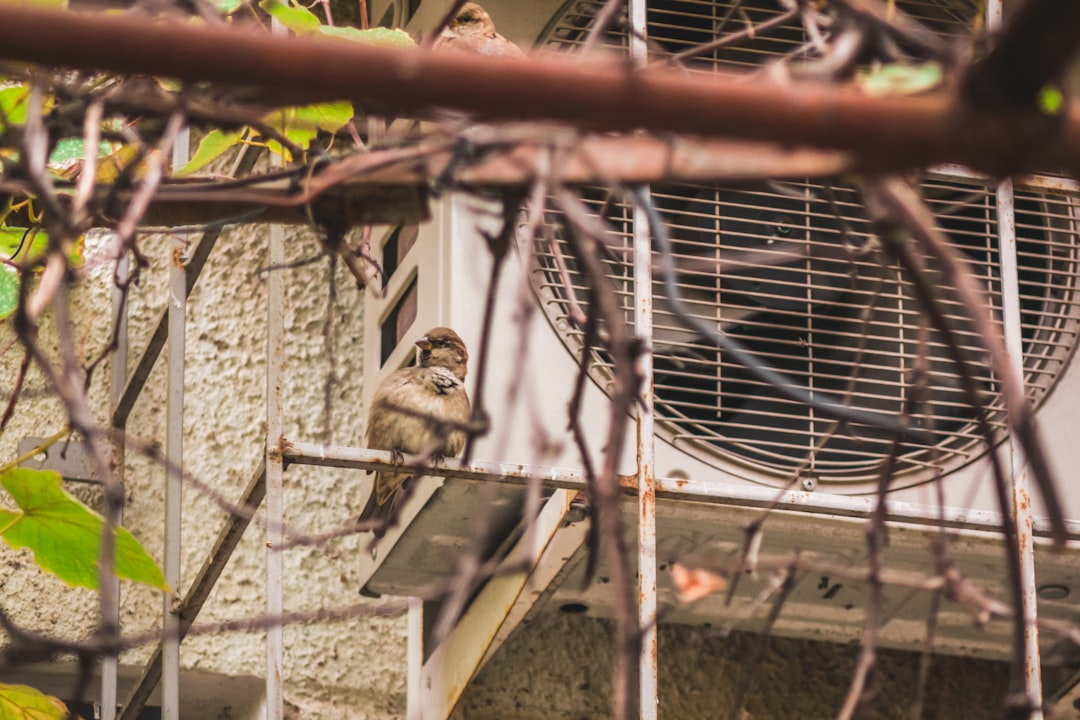
For Central Washington homeowners in Wenatchee, East Wenatchee, and Leavenworth, dry summers, wildfire smoke, and dusty conditions mean your filter can clog faster than you'd expect — sometimes well before that 90-day mark.
The good news? This is a quick, tool-free task that takes about five minutes and can make a real difference in your home's air quality and system efficiency.

Why You Must Know How to Check and Replace Your AC Air Filter
Many homeowners treat their air filter as an afterthought, but it is actually the single most impactful maintenance item you can control on your own. When you learn how to check and replace your AC air filter, you are protecting your wallet, your physical health, and your entire heating and cooling system.
When a filter becomes clogged with dust, pet hair, and airborne particles, it creates a massive pressure drop. This airflow restriction forces your blower motor to work twice as hard to push air through your home. Not only does this wear out your motor prematurely, but it also causes a spike in your monthly utility bills. According to the U.S. Department of Energy, simply replacing a dirty air filter with a clean one can increase your system's efficiency by 5% to 15%. When paired with a comprehensive maintenance package, keeping your filters fresh can help lower your total home energy use by an impressive 30% to 50%.
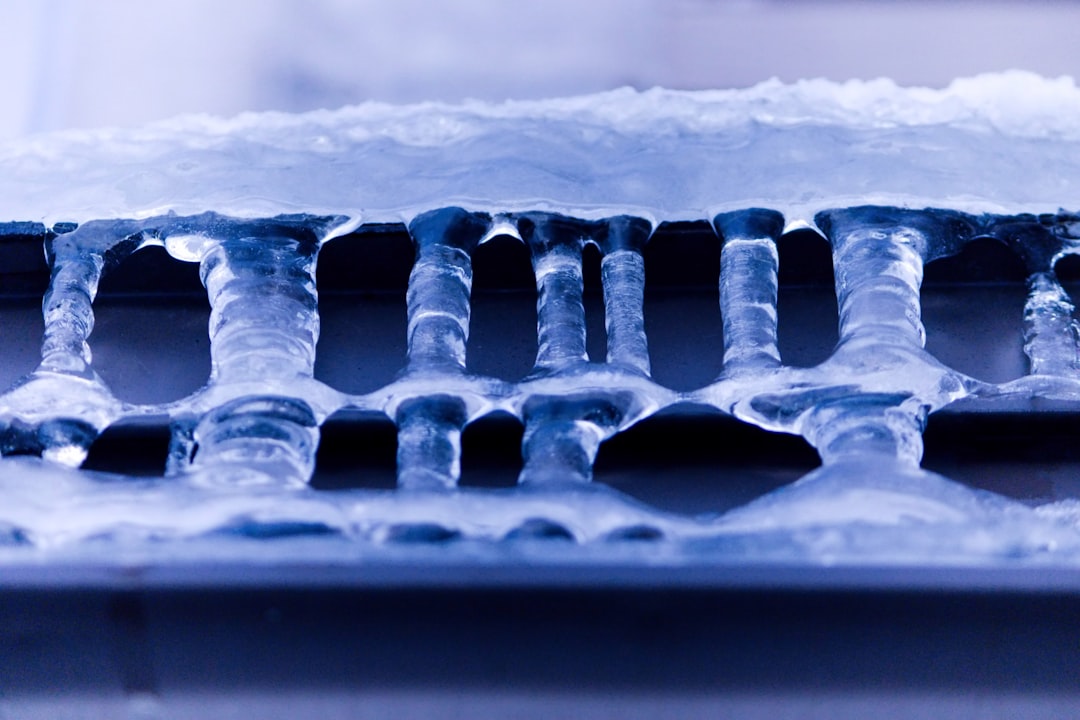
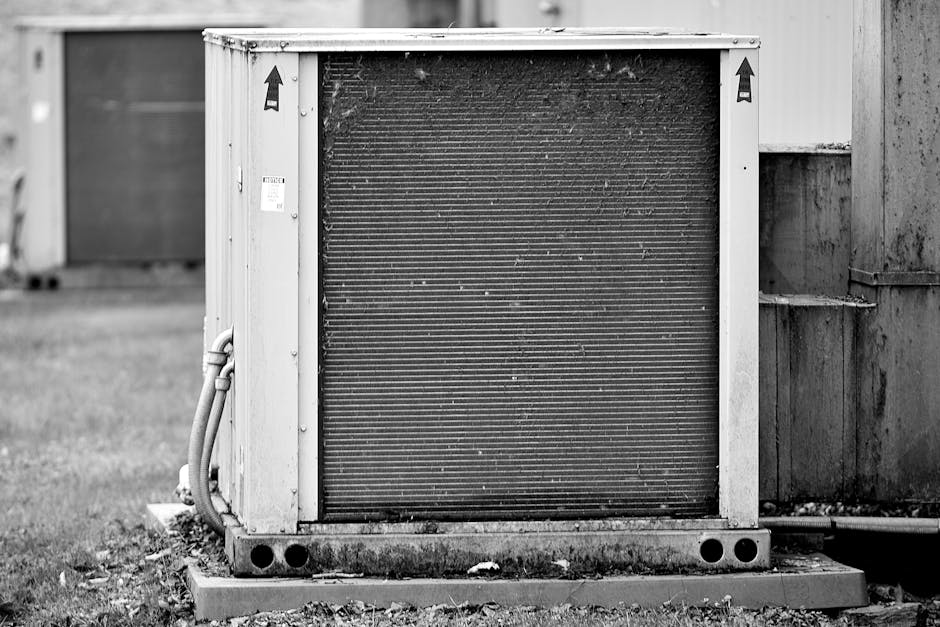
The financial impact extends far beyond your monthly bills. Clogged filters are the number one cause of frozen evaporator coils and are responsible for roughly 35% of all residential AC service calls during the peak summer months. If airflow is restricted, the cold refrigerant running through your indoor coils cannot absorb heat from your home's air. The temperature of the coil drops below freezing, causing condensation to turn to ice. This can lead to liquid refrigerant flooding back into your compressor, potentially destroying the heart of your AC unit.
Additionally, a neglected filter can lead to mold growth if it becomes damp from system condensation. Once mold spores take hold on a dirty filter, your blower motor will gladly distribute them to every room in your home, leading to respiratory issues and musty odors. Understanding Why You Need a Good Air Filter is the first step toward protecting your indoor air quality and ensuring your system lives out its full lifespan. Regular replacement acts as a low-cost insurance policy against major breakdowns, which is one of the key Benefits of Regular HVAC Maintenance.
The sheer scale of this industry highlights how vital filters are: the U.S. furnace filters market size reached USD 1.06 billion in 2024, reflecting how millions of homeowners nationwide rely on these simple components to keep their indoor environments healthy and clean.
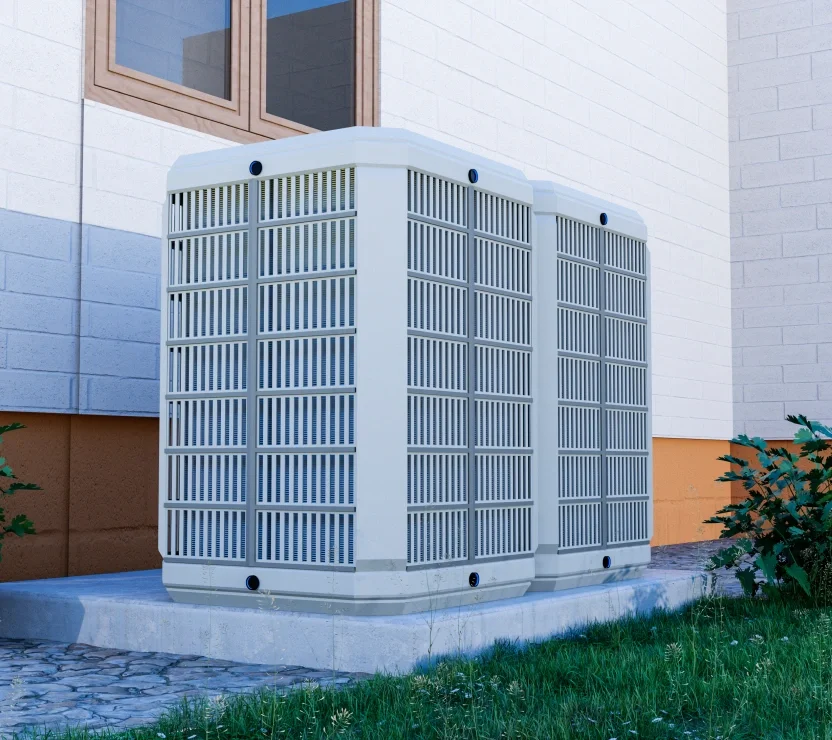
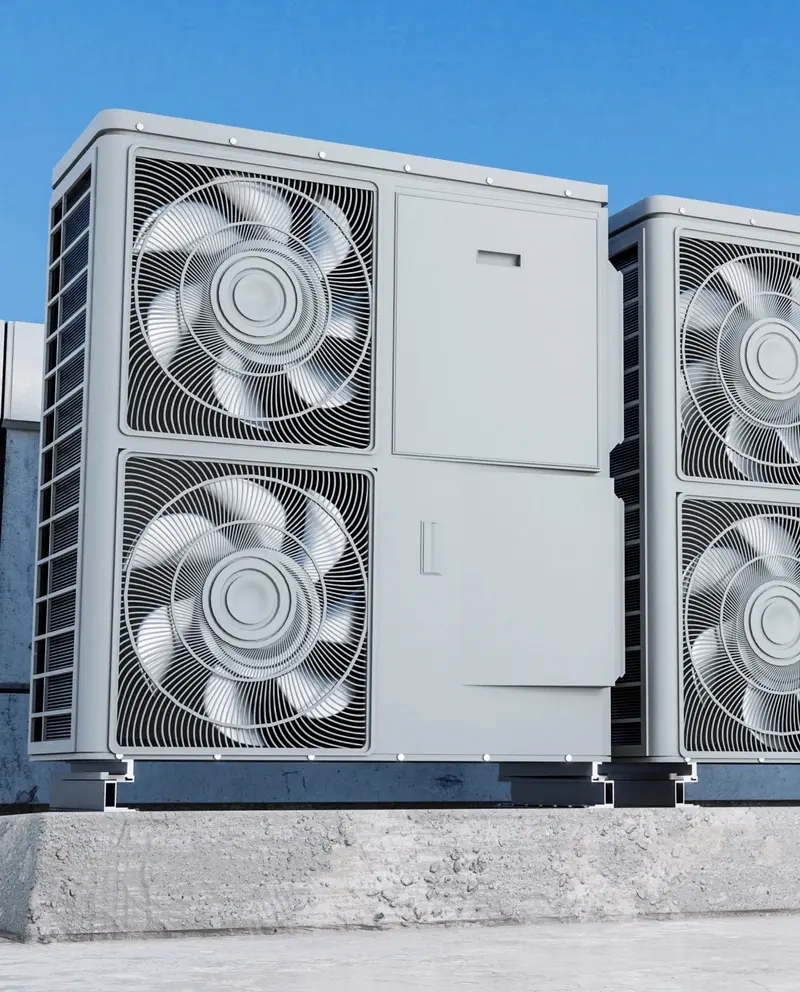
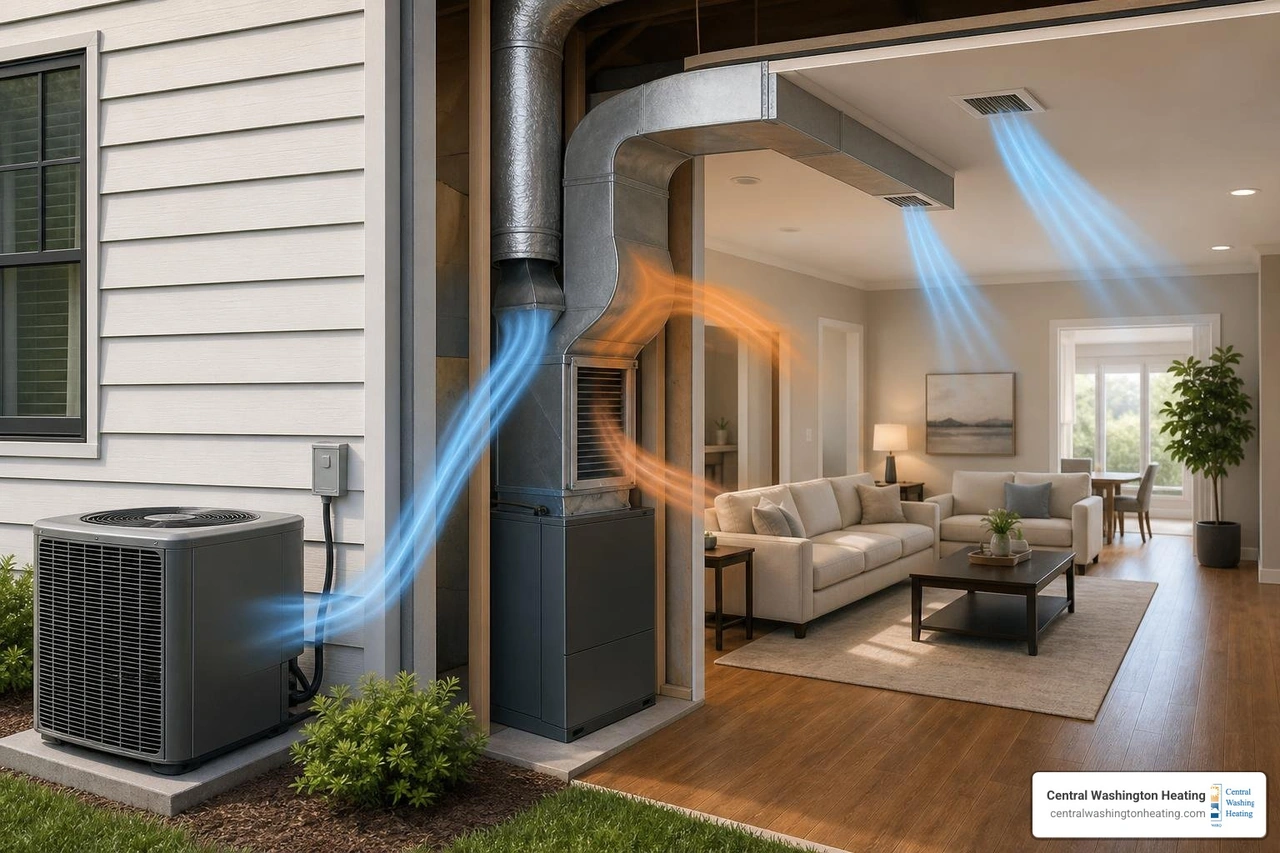
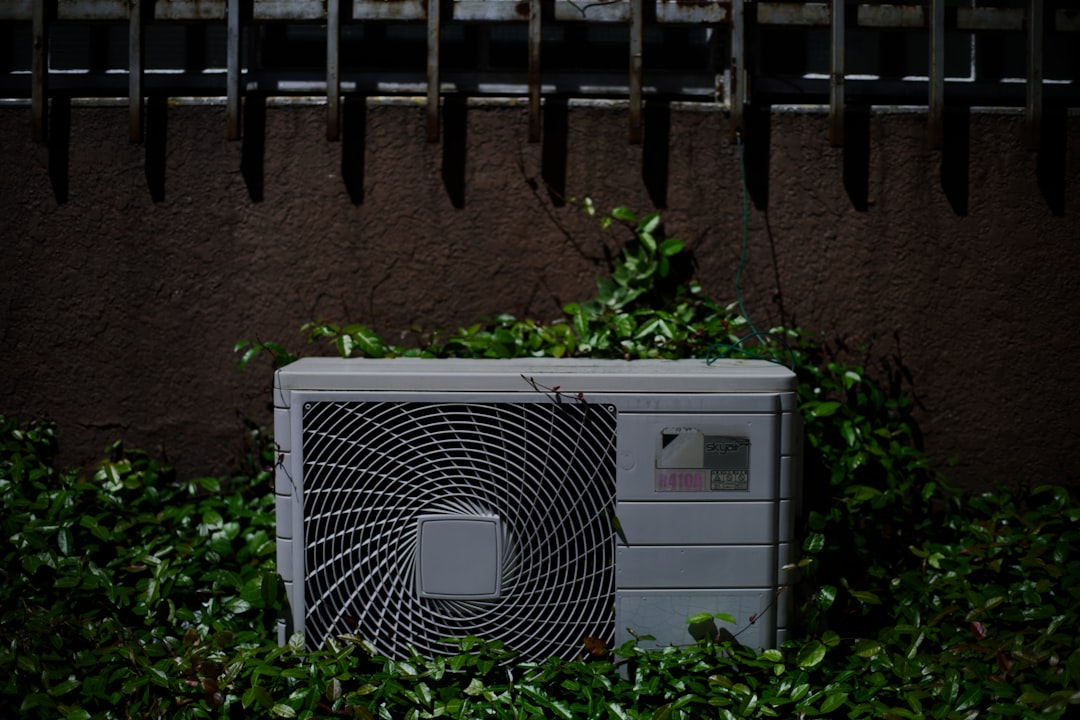
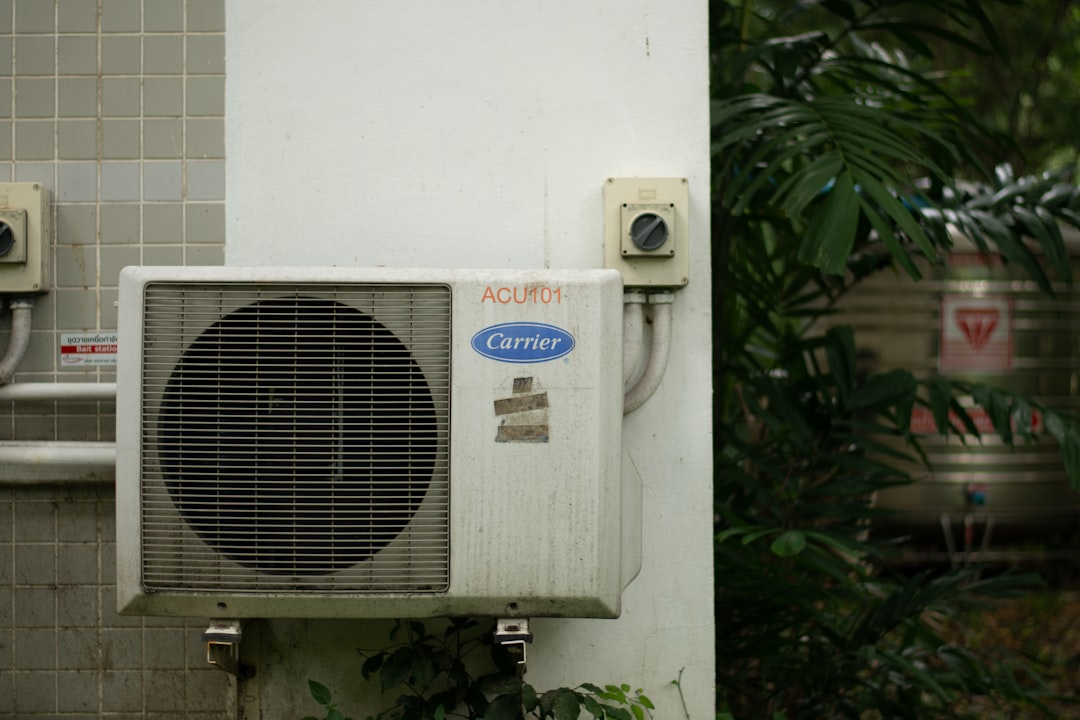
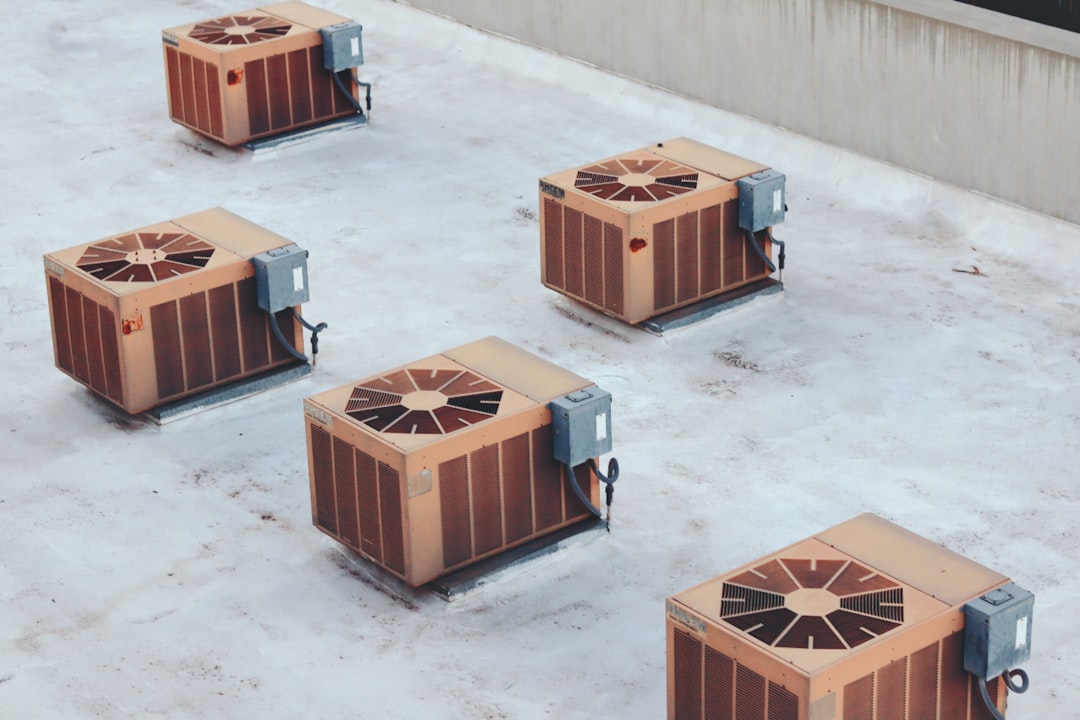
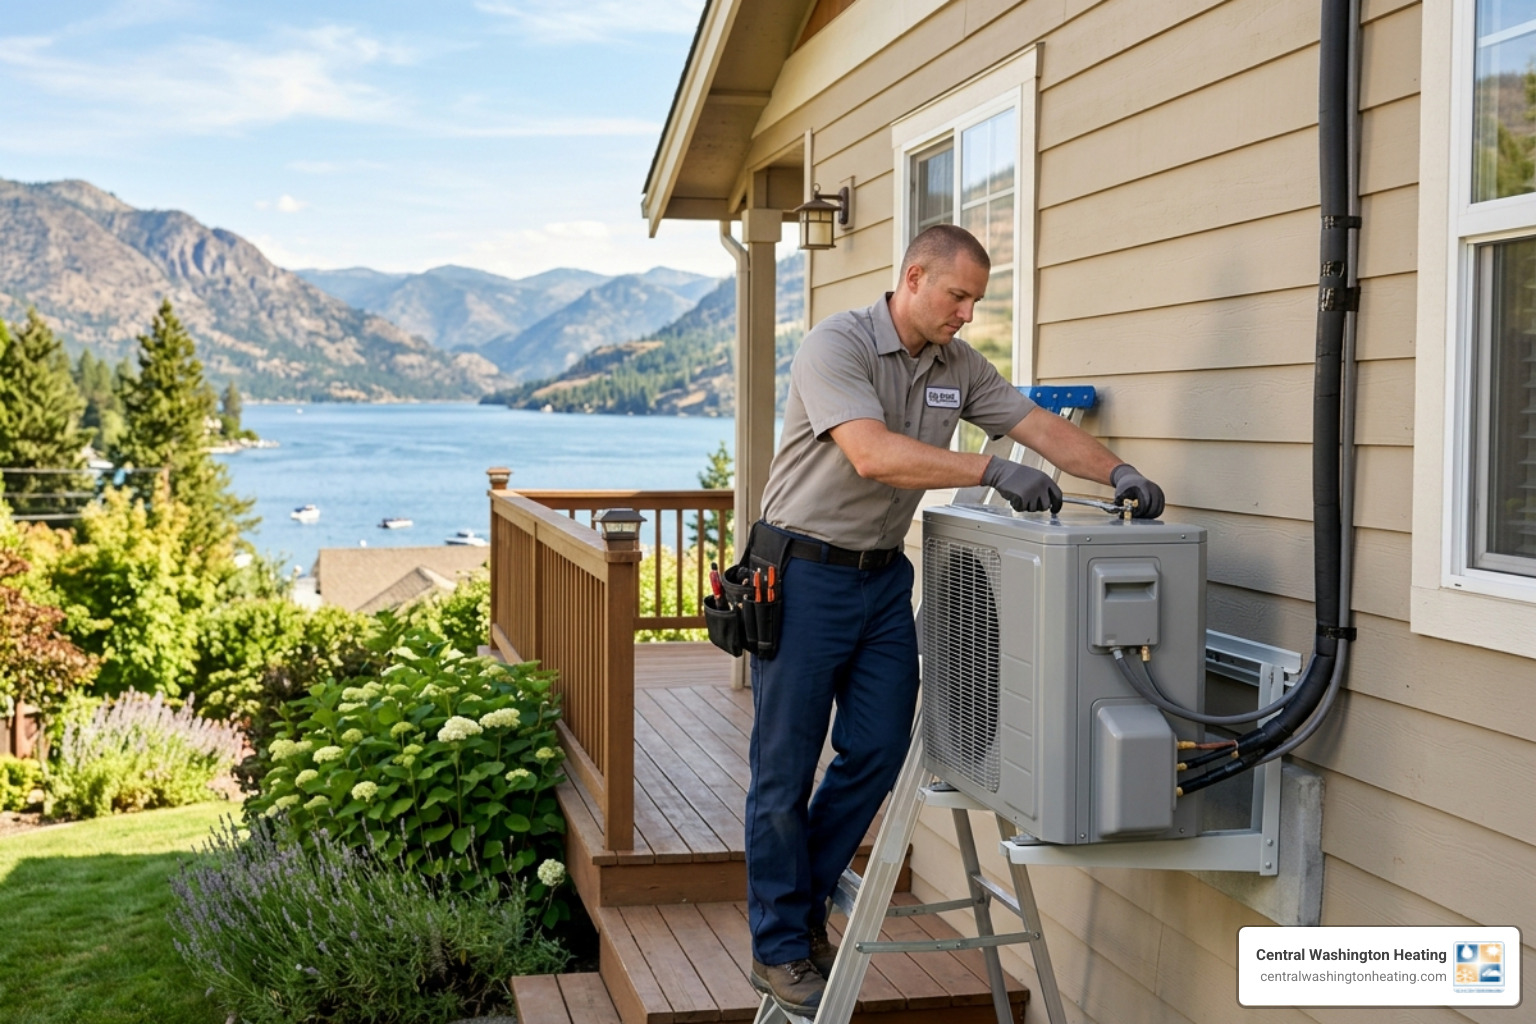
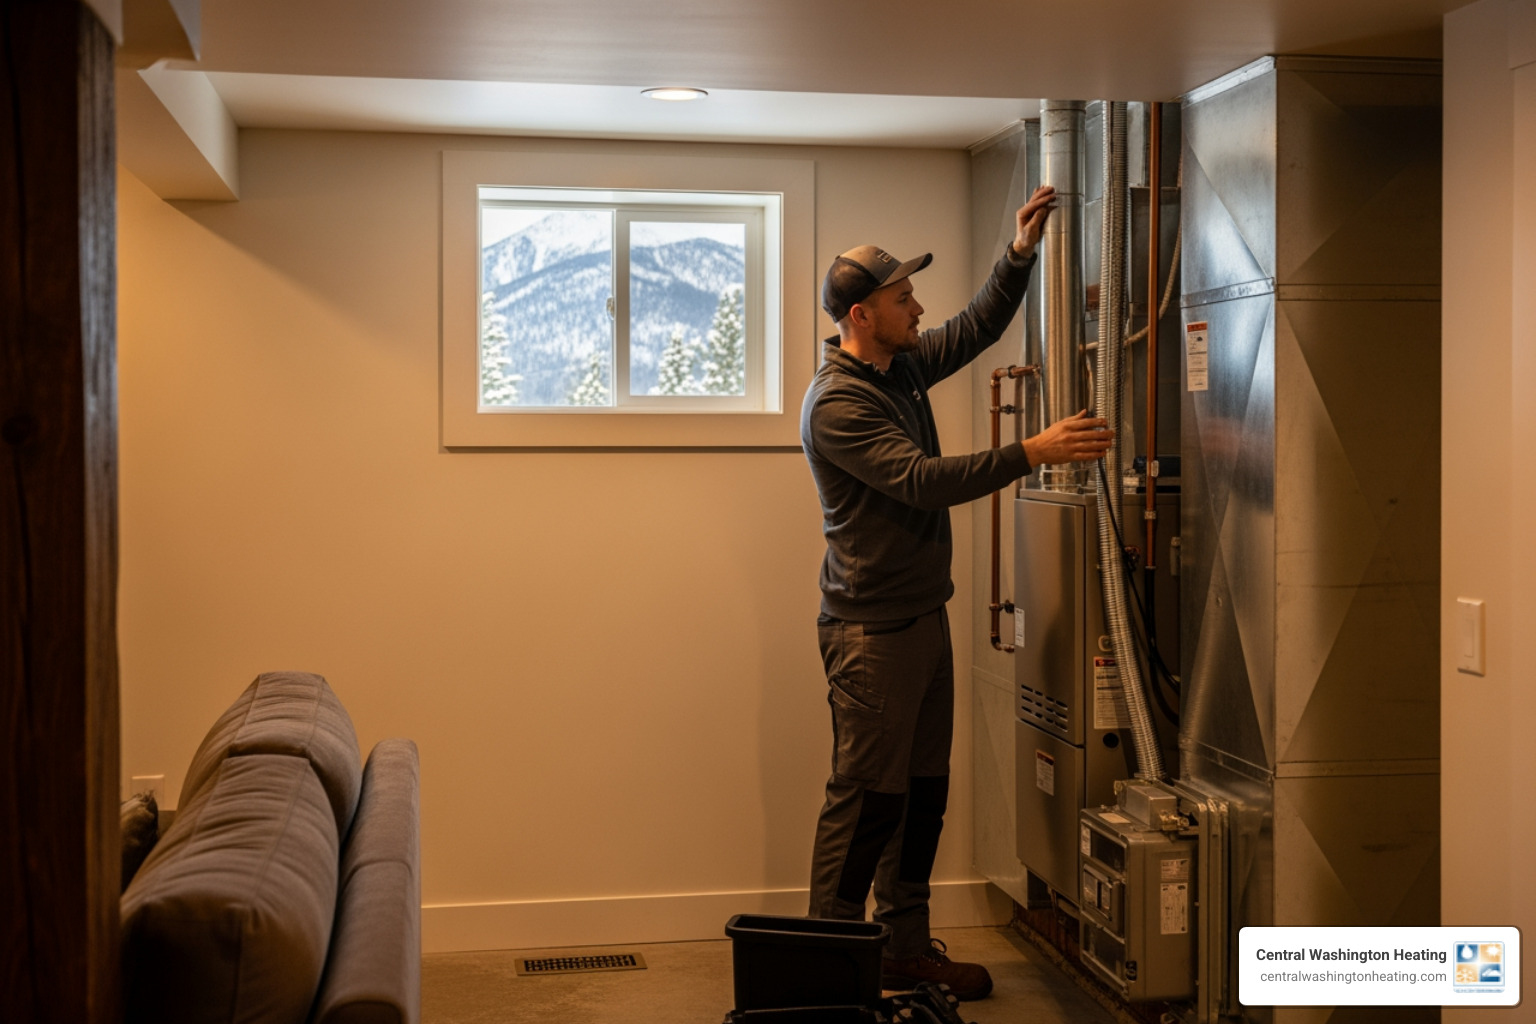
How to Check and Replace Your AC Air Filter in Central Systems
In a standard central AC or electric furnace setup, finding and replacing the filter depends entirely on how your system was installed. In the Wenatchee Valley, where homes range from historic Leavenworth cabins to modern East Wenatchee developments, central systems typically house their filters in one of two places:
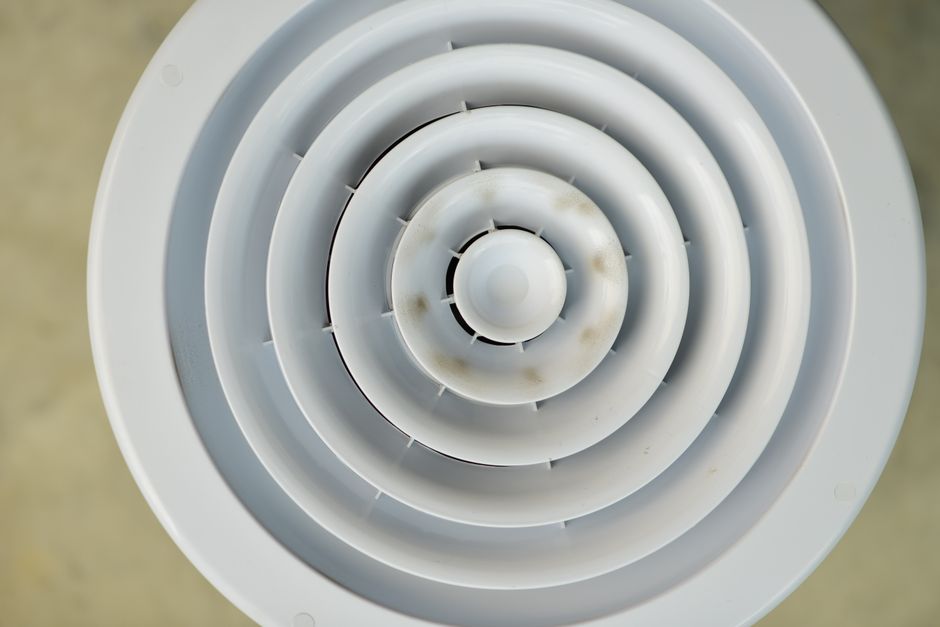
- The Return Air Grille: This is a large metal vent located on a central wall or ceiling. It is designed to pull air from your living spaces back into the HVAC system. To access the filter here, you simply need to unhook the latches on the grille, swing the cover open, and pull the filter out. Because these grilles are highly visible, they are easy to check, but they can collect unsightly surface dust that should be wiped down during every change.
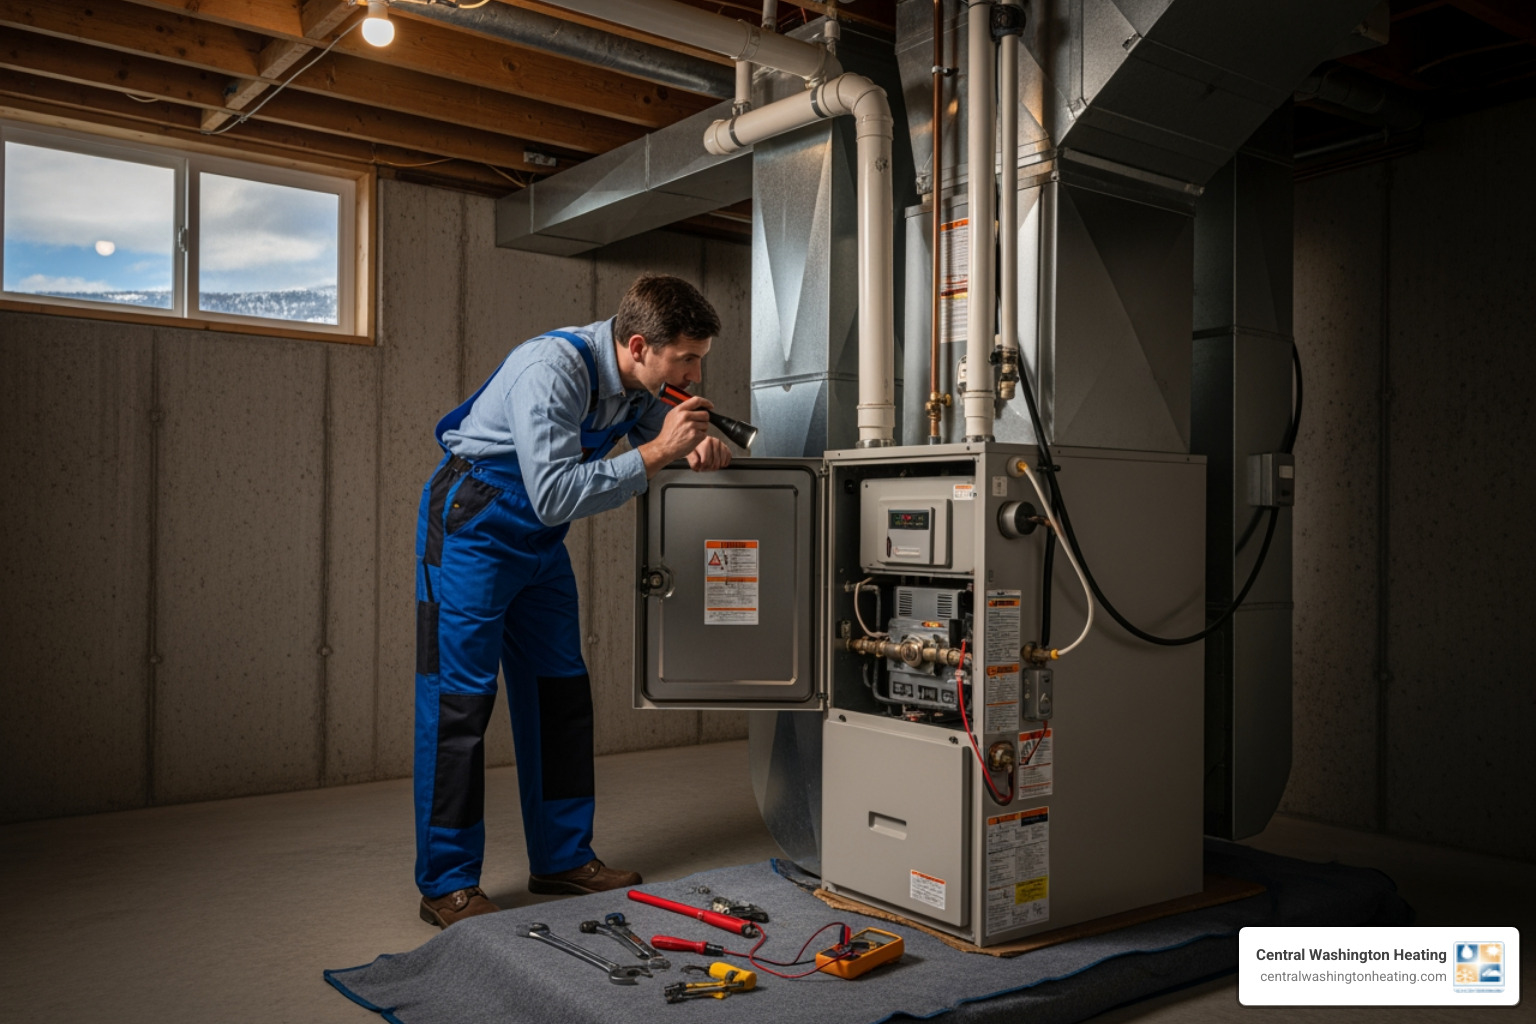
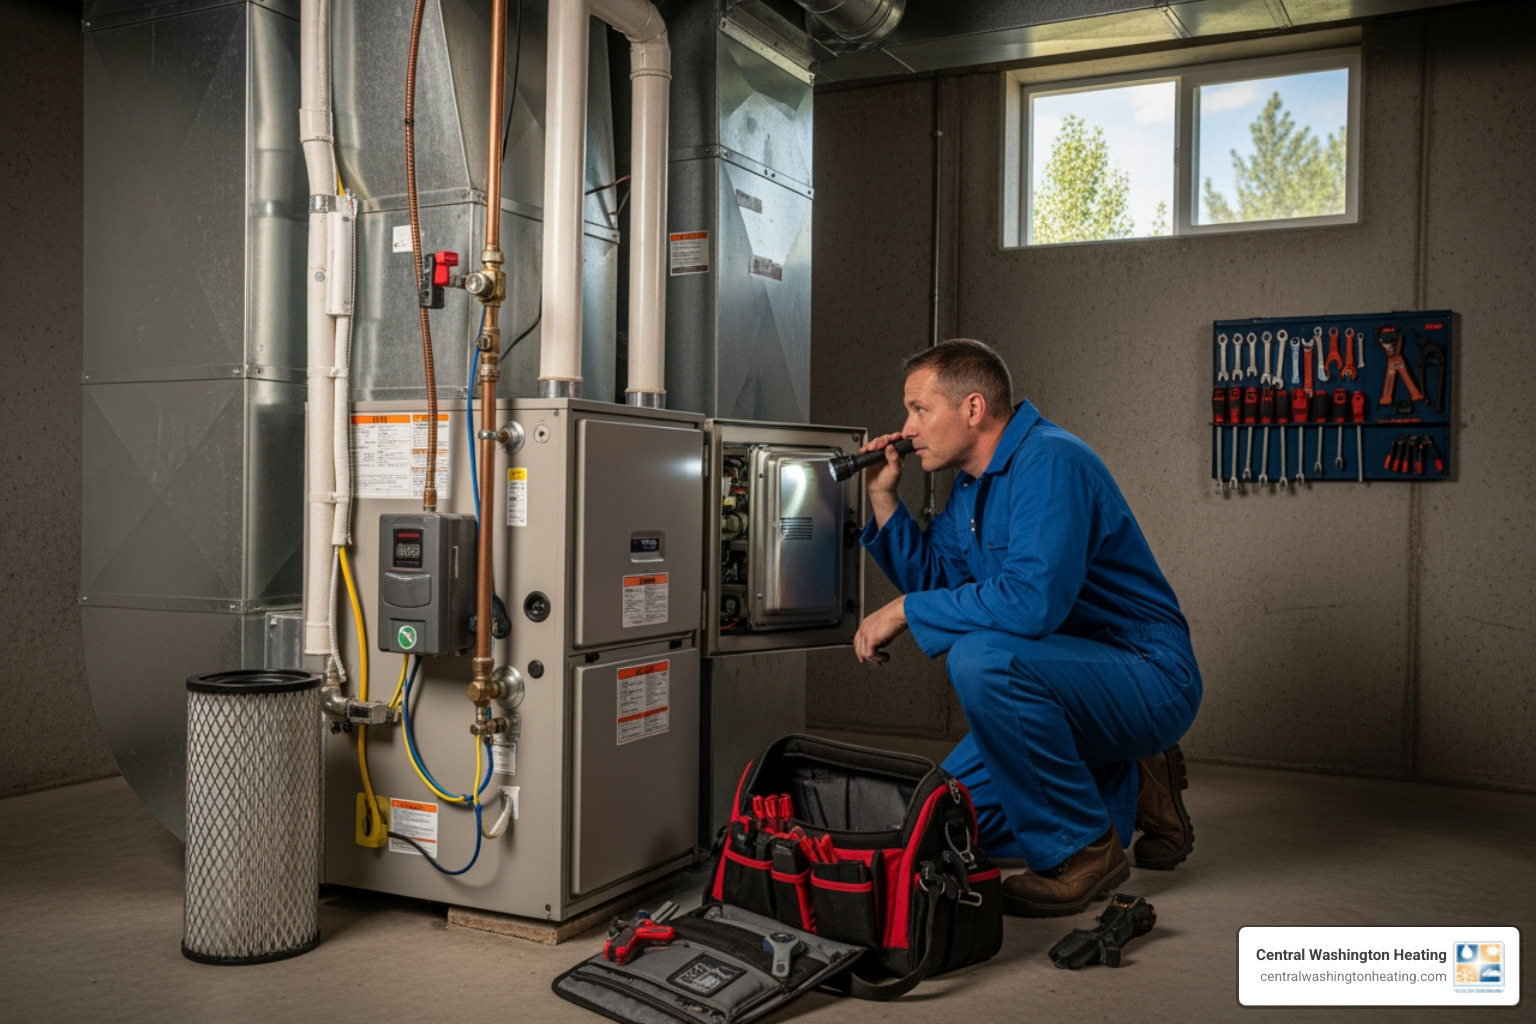
- The Air Handler or Electric Furnace Cabinet: If your filter isn't behind a return grille, it is likely located in a dedicated slot directly next to your indoor air handler or electric furnace. This unit is typically found in a utility closet, basement, garage, or attic. Look for a narrow metal cover, a hinged door, or a slide-out tray positioned between the return ductwork and the main blower cabinet.
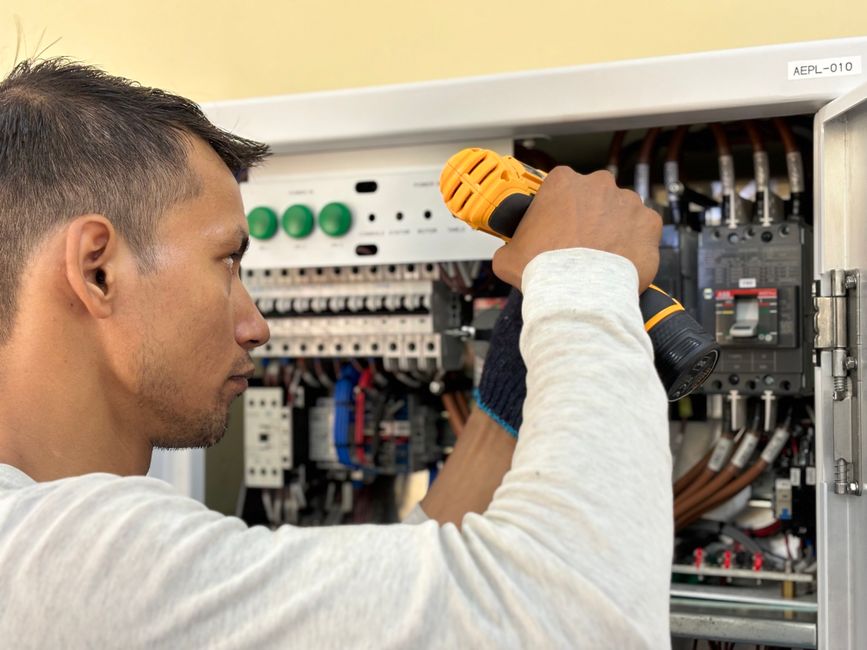
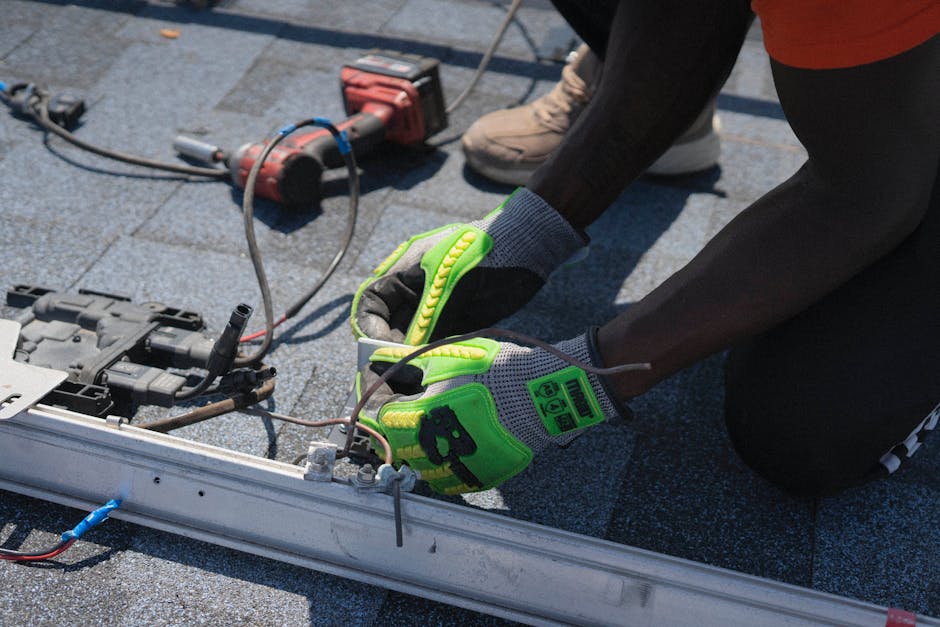
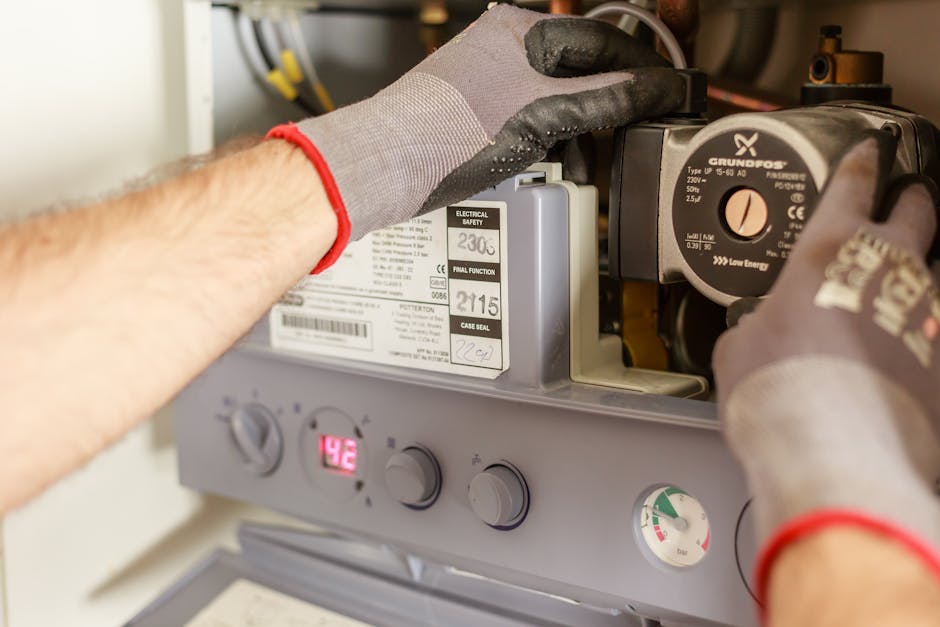
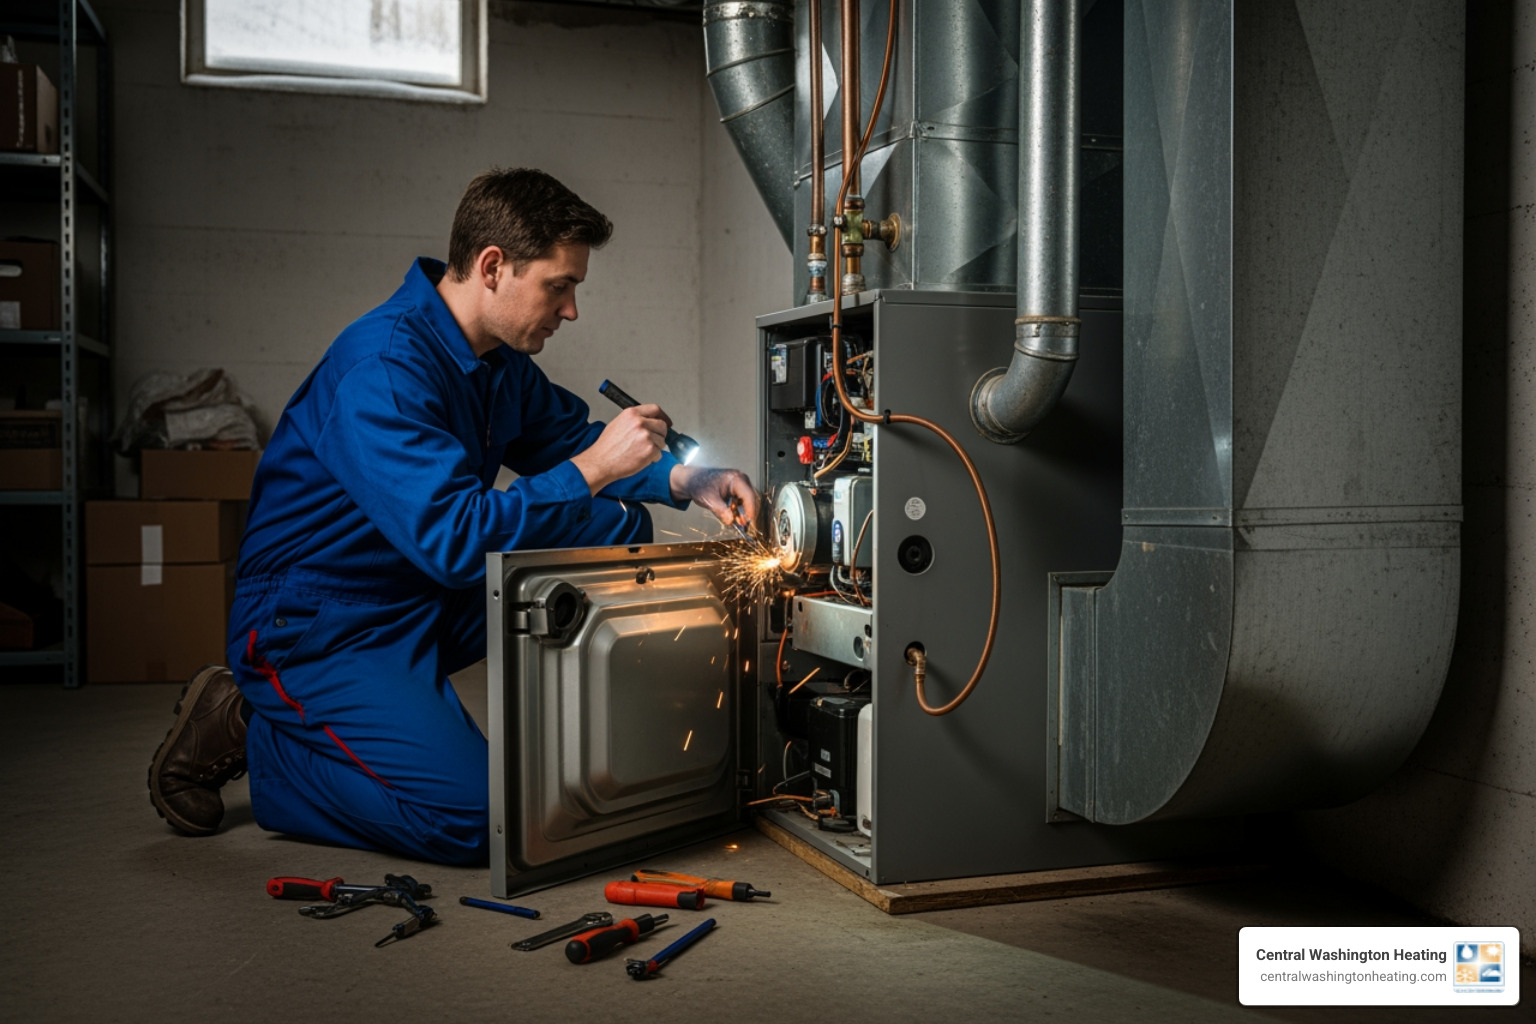
Regardless of where it is housed, the physical steps for a Furnace Filter Replacement remain the same. Always ensure the system is completely powered down before opening any cabinets to prevent loose dust from being sucked directly into the unprotected blower motor.
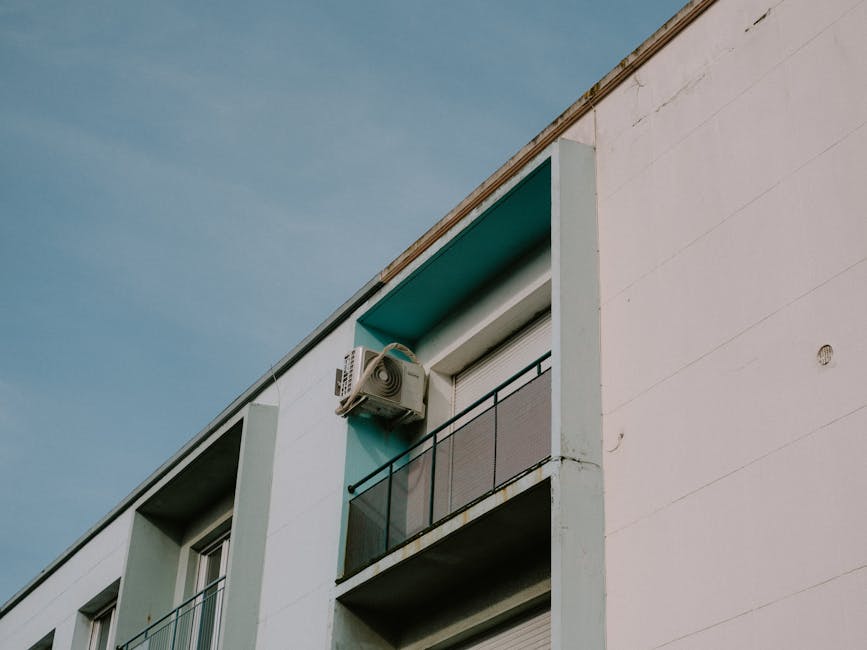
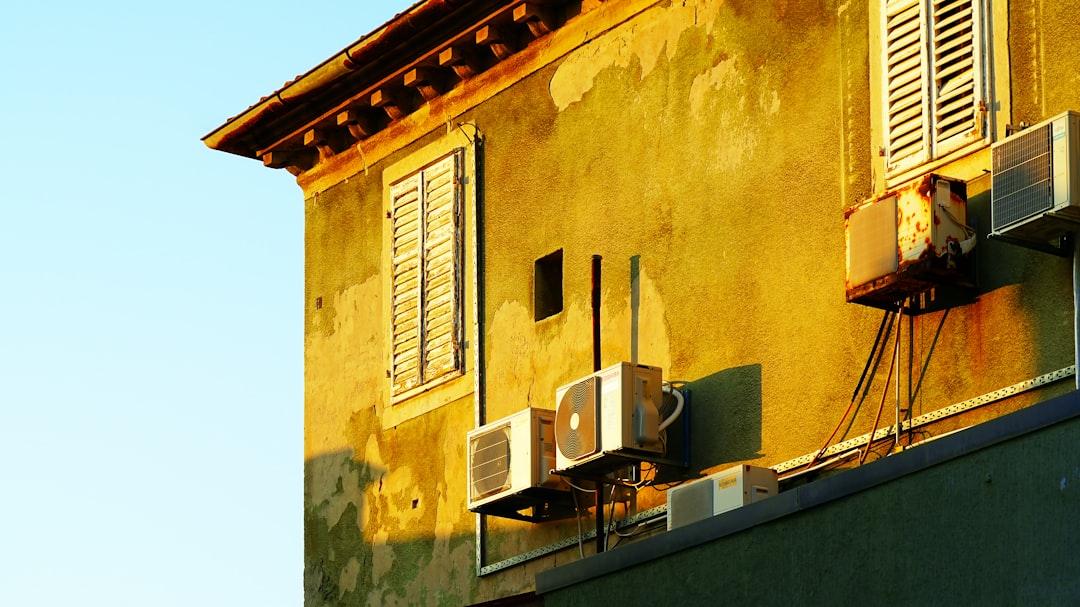
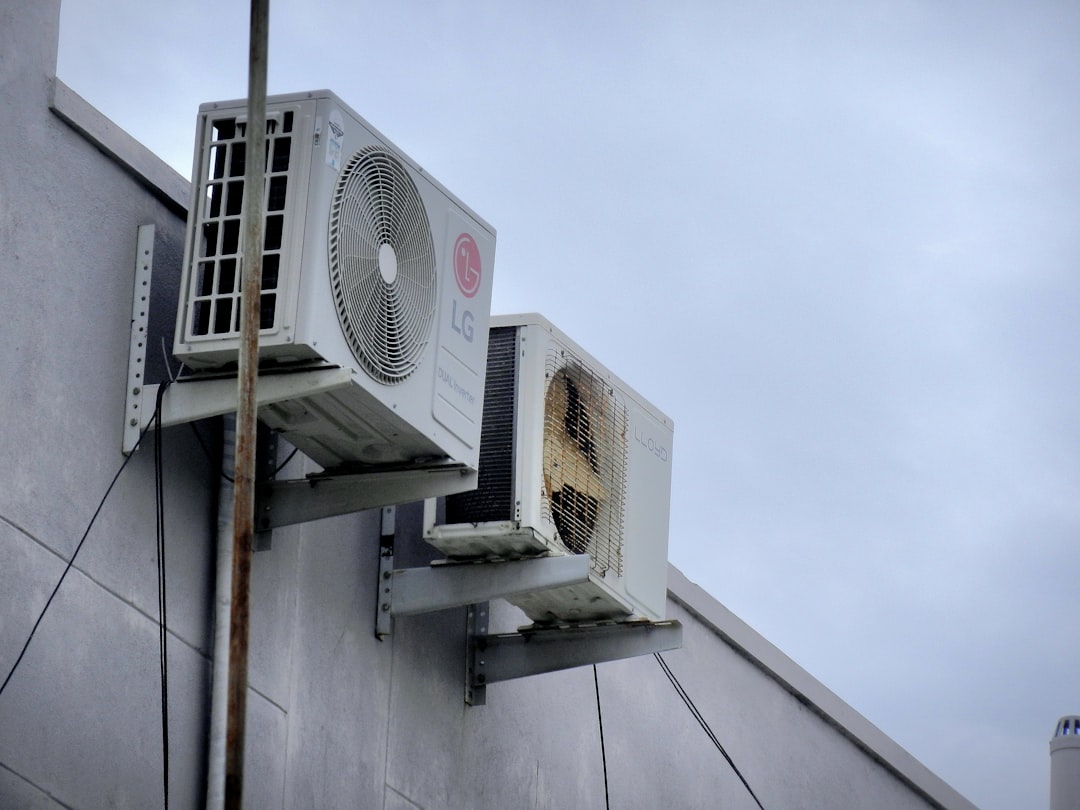
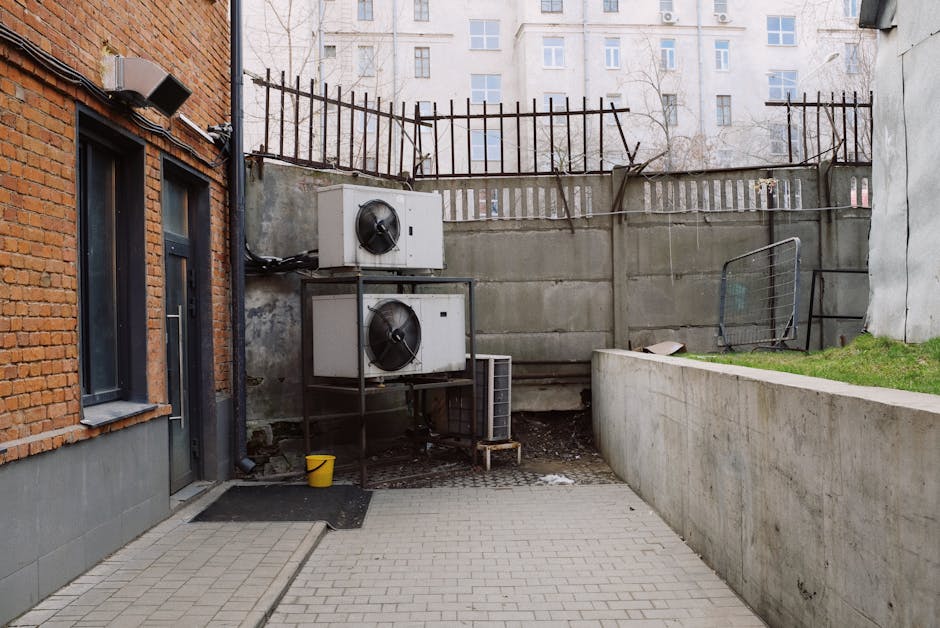
How to Check and Replace Your AC Air Filter in Ductless Mini-Splits
Ductless mini-split systems are incredibly popular throughout Central Washington, particularly in areas like Chelan, Cashmere, and Entiat where zoning is highly beneficial. Unlike central systems, mini-split wall units do not use disposable cardboard filters. Instead, they rely on reusable mesh filters located right inside the indoor wall-mounted unit.
To perform a mini-split AC Filter Change, follow these steps:
- Turn Off the Unit: Use your remote control to power down the mini-split.
- Open the Front Panel: Gently lift the front plastic cover of the wall unit from the bottom corners until it clicks into an open position.
- Remove the Mesh Filters: You will see two curved, flexible plastic mesh filters. Gently push up on the bottom tab of each filter to unhook it, then slide it down and out of the unit.
- Clean the Filters: Take the filters outside to shake off loose dust, or use a soft brush vacuum attachment to clean them. Next, rinse them in a sink or shower. Run lukewarm water through the filter in the opposite direction of the airflow to wash away trapped particles. If they are particularly greasy, use a drop of mild dish soap.
- Dry Completely: This is the most crucial step. Never reinstall a damp mini-split filter, as this will lead to rapid mold and mildew growth inside your wall unit. Allow them to air dry completely out of direct sunlight.
- Reinstall and Close: Slide the dry filters back into their tracks, click them into place, and snap the front cover closed.
For optimal performance in our dusty climate, we recommend checking and cleaning your mini-split filters every two to four weeks during peak summer and winter usage.
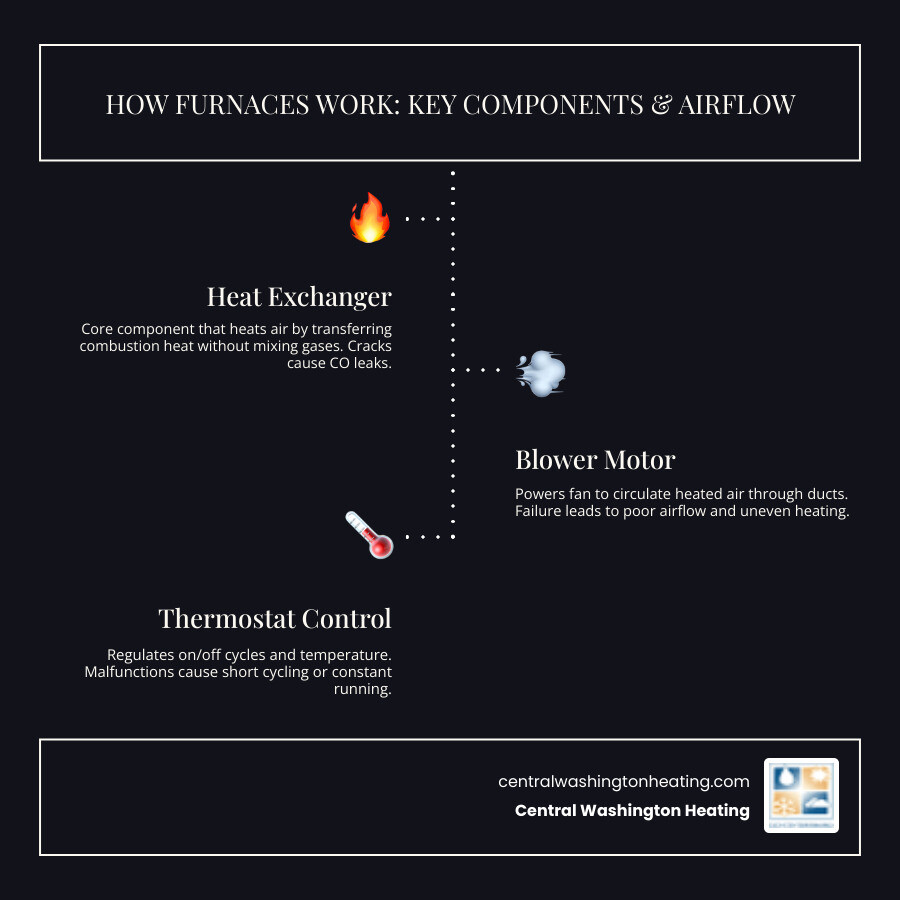
How to Choose the Right Filter Size and MERV Rating
Buying a replacement filter can feel overwhelming when you are staring at a massive aisle of options at your local home improvement store. To get the best performance out of your system, you must understand two critical factors: the physical size of the filter and its Minimum Efficiency Reporting Value (MERV) rating.

Choosing the wrong size can leave gaps that let unfiltered air bypass the media, coating your sensitive evaporator coils in dust. Selecting a MERV rating that is too high can choke your system's airflow, causing the exact same operational issues as a dirty filter.
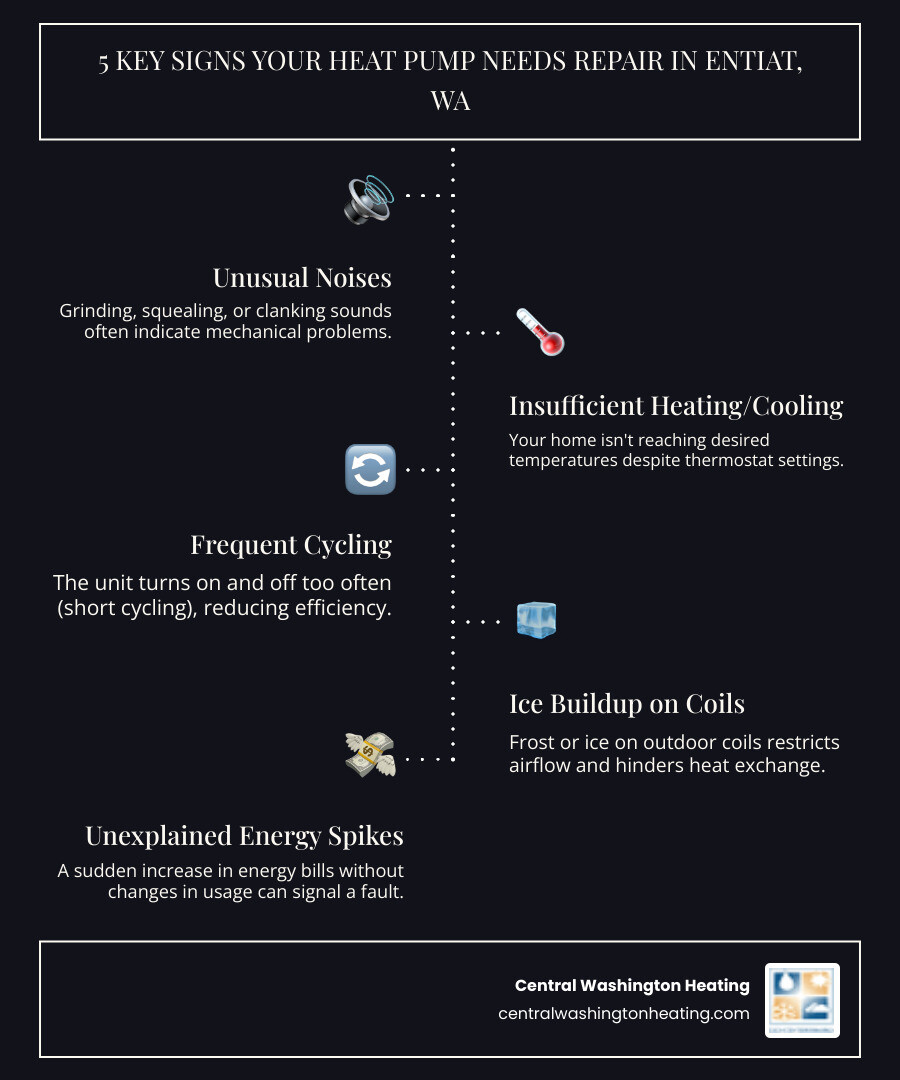
| MERV Rating | Particle Capture Efficiency | Best Suited For |
|---|---|---|
| MERV 1–4 | Low efficiency; captures large particles like lint and carpet fibers. | Basic protection for very old systems; generally not recommended for modern homes. |
| MERV 5–8 | Medium efficiency; captures mold spores, dust mites, and pet dander. | The standard residential baseline. Great for budget-friendly, everyday use. |
| MERV 9–12 | High efficiency; captures fine dust, pollen, and automobile emissions. | The Sweet Spot. Highly recommended for pet owners and allergy sufferers. |
| MERV 13–16 | Superior efficiency; captures bacteria, smoke, and microscopic allergens. | Excellent for severe asthma or during active wildfire seasons (verify system compatibility first). |
Understanding MERV Ratings for Your Home
The MERV scale ranges from 1 to 20, measuring how effectively a filter traps particles between 0.3 and 10 microns in size. While it might seem logical to buy the highest MERV rating available, doing so without professional guidance can severely damage your HVAC system.
High-MERV filters (such as MERV 13 and above) are made of incredibly dense pleated material. This density creates high static pressure, meaning your blower motor has to work much harder to pull air through the filter. For many standard residential systems, a MERV 13 filter acts like a brick wall, severely restricting airflow, increasing system noise, and potentially freezing your coils.
For most homes in the Wenatchee Valley, the residential "sweet spot" is a MERV 8 to MERV 11 filter. A MERV 8 filter provides excellent everyday filtration without stressing your system. If you have pets, suffer from seasonal allergies, or live in a dusty area like Malaga or Waterville, upgrading to a MERV 11 filter provides a fantastic balance of superior particle capture (including pet dander and pollen) and healthy airflow. If you are considering upgrading your filtration to manage local smoke or severe respiratory issues, read our guide on Why You Need a Good Air Filter to make an informed decision.
Finding Your Filter Size: Nominal vs. Actual
When looking for your filter size, you will notice three numbers printed on the side of the cardboard frame (for example, 16x25x1). This is the nominal size, which is a rounded-up measurement used by manufacturers for easy labeling and shopping.
However, if you pull out a tape measure, you will find that the actual size of the filter is slightly smaller — usually by 1/4 to 1/2 of an inch. For example, a filter labeled 16x25x1 might actually measure 15.5 x 24.5 x 0.75 inches. This slight difference is intentional; it allows the filter to slide easily into the rack without bending or buckling.
If your old filter does not have its size printed on the frame, do not guess! Grab a tape measure and record the exact length, width, and thickness of the filter slot or the old filter itself. Round those numbers up to the nearest whole inch to find your nominal size. Always ensure a snug fit; if a filter is too loose, air will slip around the edges, rendering the filter useless. If it is too tight, it will buckle, creating gaps and restricting airflow.
The 5-Step Guide to Replacing Your Filter
Now that you have the correct filter size and MERV rating in hand, it is time to perform the replacement. This simple 5-step process will ensure you complete the task safely and correctly.
Before you begin, make sure you have your new filter nearby, a trash bag for the old dusty filter, and a microfiber cloth to clean up any residual dust. Keeping up with these simple steps is a core part of our Ultimate HVAC Maintenance Guide.
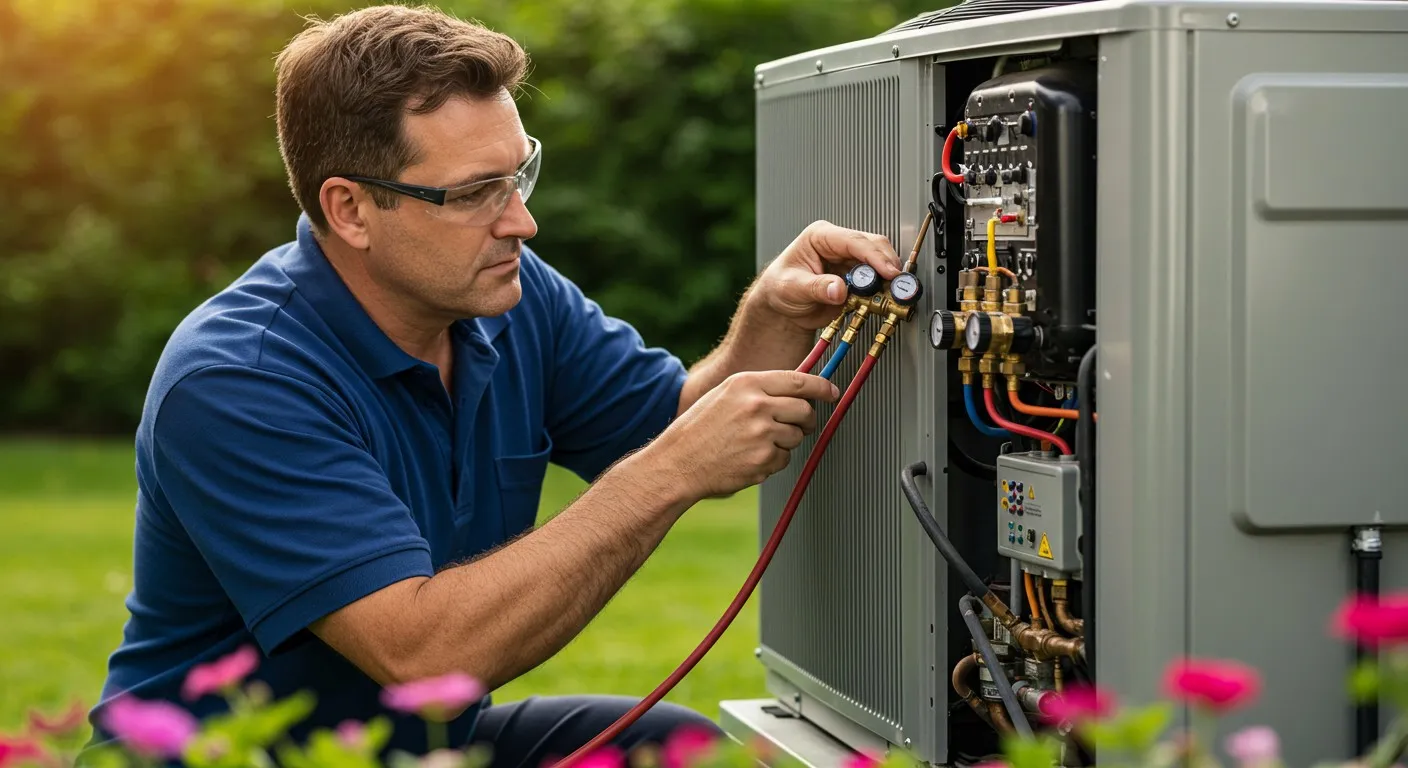
Step 1: Turn Off the Power
Safety must always come first. Before you touch your filter, walk over to your thermostat and turn the system completely OFF.
Never attempt to change an air filter while the AC or furnace fan is actively running. If the system is on, the powerful suction from the blower motor can pull the old, dusty filter out of your hands, potentially damaging the fan blades or sucking loose debris directly into the delicate internal components of your system. For an extra layer of safety, you can turn off the circuit breaker dedicated to your indoor air handler.
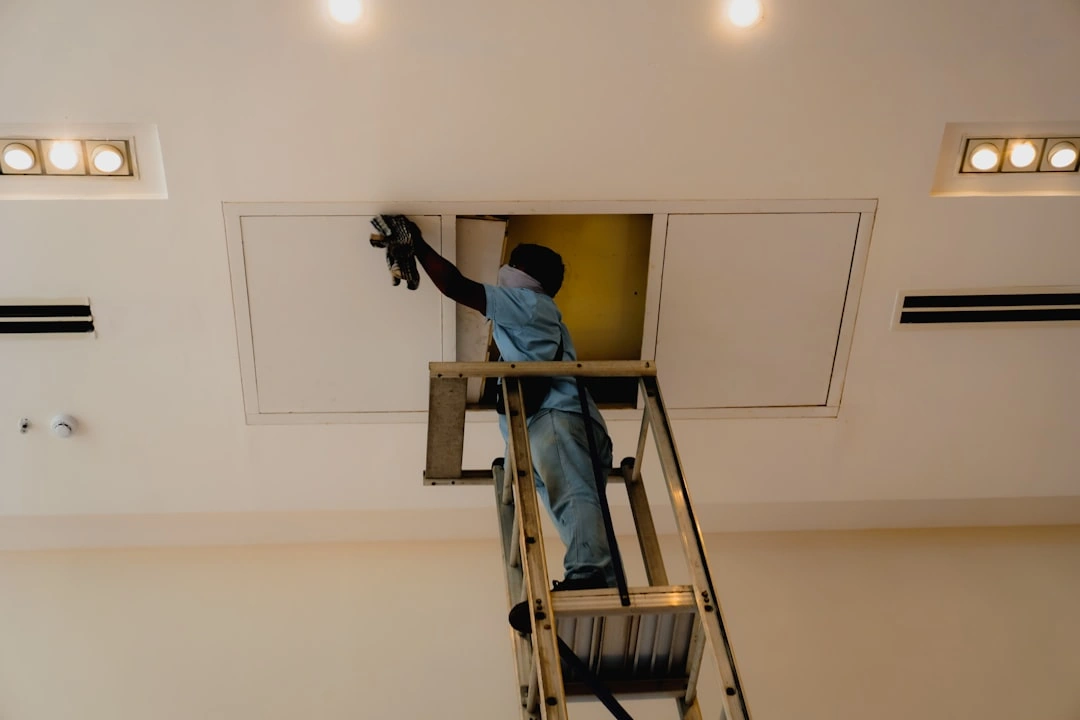
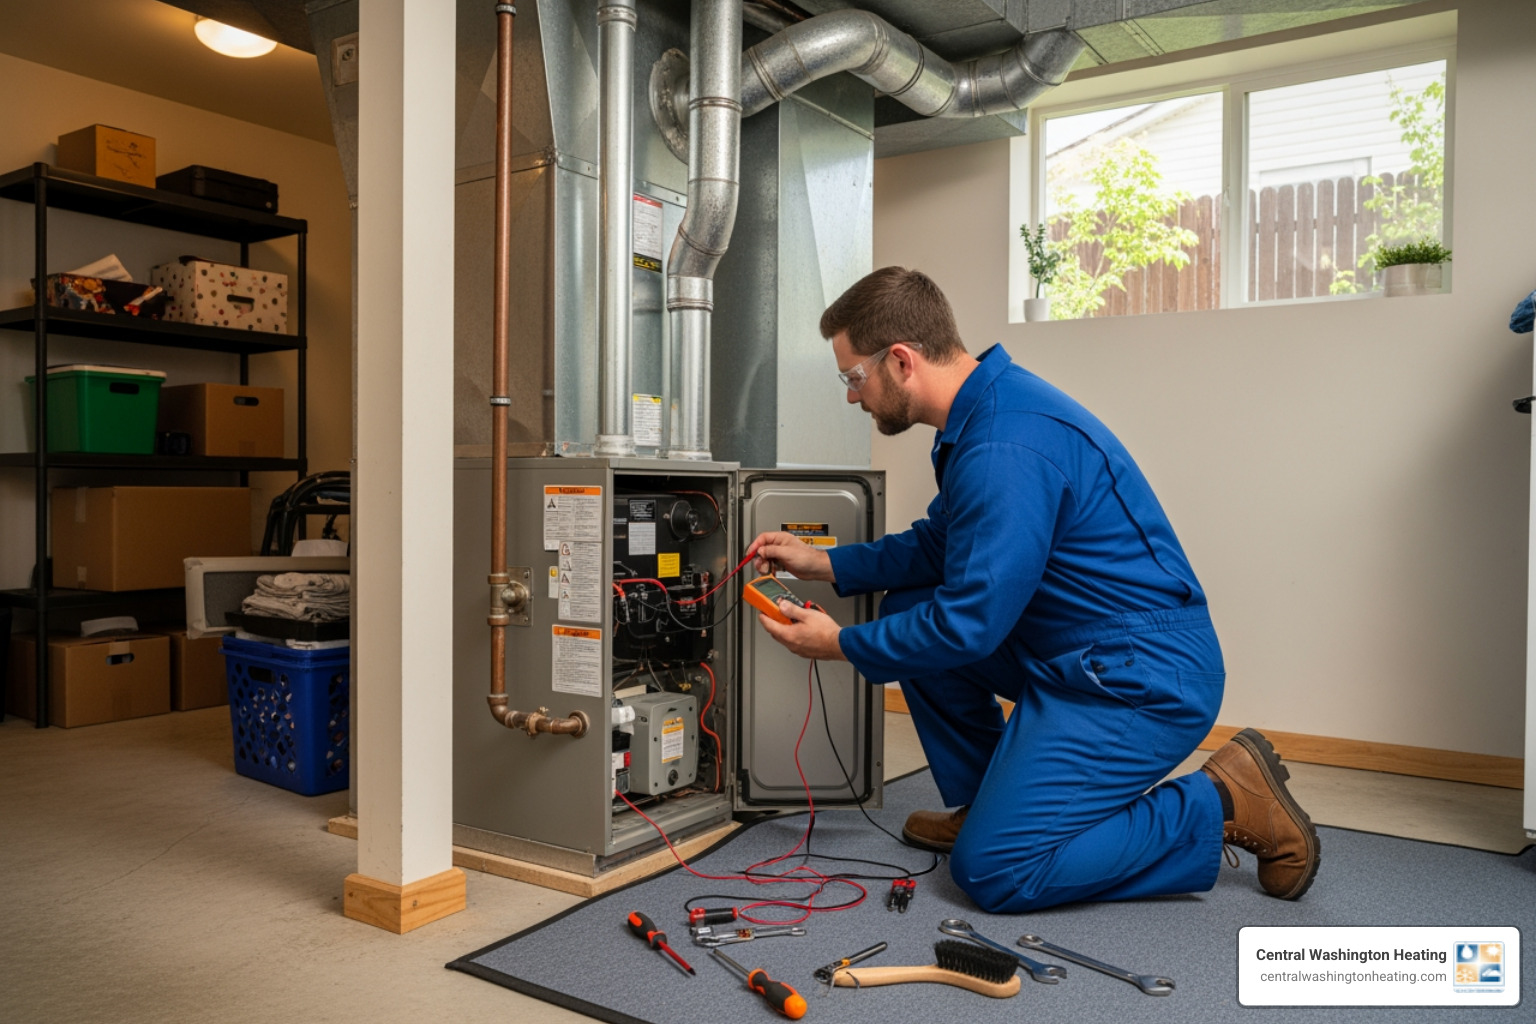
Step 2: Locate and Remove the Old Filter
Locate your filter cabinet door or return air grille. If you are accessing a return grille on a wall or ceiling, carefully unlatch the cover. If your filter is in an air handler cabinet, slide off the access door or lift the hinged cover.
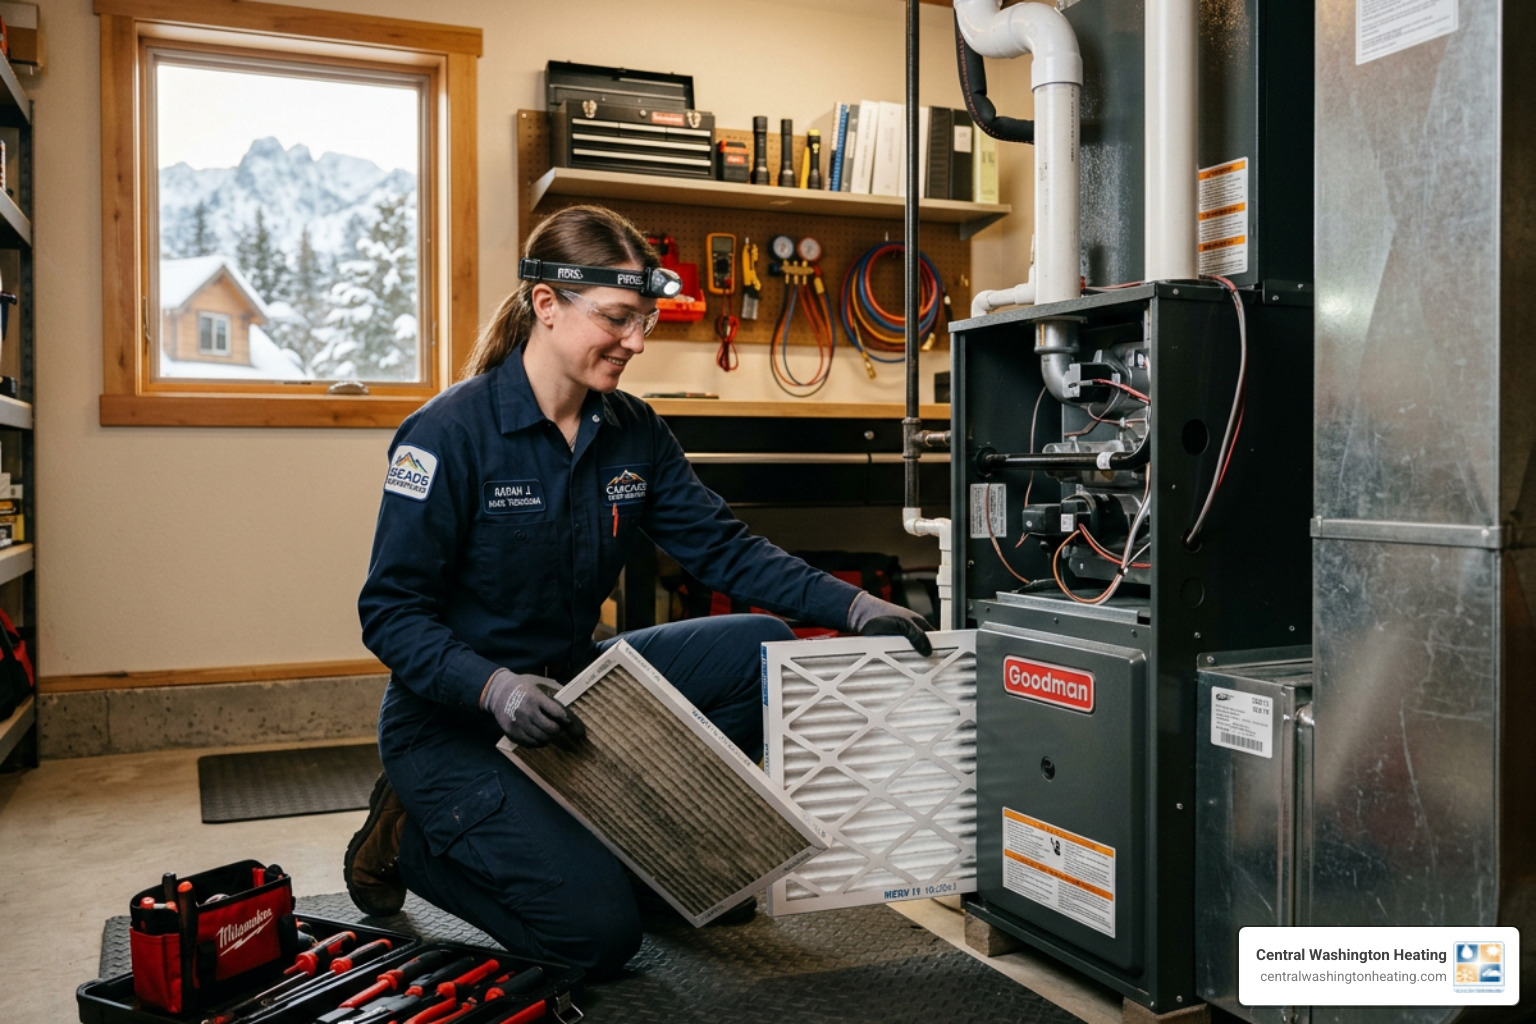
Carefully slide the old filter out of its slot, keeping it as horizontal as possible to prevent a cloud of dust, pet hair, and dander from falling onto your floors or blowing back into your face. Immediately place the old filter directly into a trash bag. If you notice the filter is damp, damaged, or showing signs of dark spots, you should inspect your system further. Be sure to familiarize yourself with the Signs Your AC Air Filter Needs Replacing so you can spot issues before they escalate.
Step 3: Verify the Size and Airflow Direction
Take a close look at the filter you just removed. Double-check that the size printed on its frame matches your new filter exactly.
Next, look for the airflow arrow printed on the side of both the old and new filter frames. This arrow indicates the direction that air is designed to flow through the filter media. The filter media is reinforced on one side (often with a wire mesh) to prevent it from collapsing under the pressure of the blower fan. If you install the filter backward, the media can buckle, causing air bypass and significantly reducing the filter's efficiency.
The arrow must always point toward the blower motor or air handler and away from the return ductwork.
- If your filter is in a ceiling or wall return grille, the arrow should point inward toward the wall or ceiling cavity.
- If your filter is in an air handler cabinet, the arrow should point toward the main body of the unit where the fan is housed.
Step 4: Clean the Grille and Insert the New Filter
Before sliding your pristine new filter into place, take a damp microfiber cloth and wipe down the inside of the filter slot, the tracks, and the outer grille. This prevents built-up dust from instantly clogging your fresh filter the moment the system restarts.
Once the area is clean, gently slide the new filter into the slot, ensuring the airflow arrow is pointing in the correct direction. Make sure the filter sits completely flat in its tracks with no visible gaps around the edges. A proper, snug fit ensures that 100% of the air passing through your system is thoroughly filtered. Taking care of these small details is one of the best ways to keep your system healthy and learn How to Prevent HVAC Emergencies with Maintenance.
Step 5: Restore Power and Monitor System Performance
Securely close the cabinet cover or latch the return air grille shut. Walk back to your thermostat and turn your system back to its normal cooling or heating settings.
Stand near your vents for a few minutes and listen closely. You should hear a smooth, quiet rush of air, and the airflow coming from your supply registers should feel strong and steady. If you hear any strange whistling noises, double-check that the filter is seated flat and that the cabinet door or grille is fully latched. Write the current date on the edge of the cardboard frame with a marker so you always know exactly when it was last replaced!
Frequently Asked Questions About AC Filters
Can I run my AC without a filter temporarily?
Absolutely not. You should never run your air conditioning system without a filter, even for a few hours while you run to the store to buy a replacement.
Your air filter's primary job is actually to protect the sensitive internal components of your HVAC system, not just clean your breathing air. Without a filter in place, the powerful blower motor will suck airborne dust, hair, and debris directly into your system. This debris will quickly coat the wet evaporator coils, clogging the tiny fins and insulating them from the air. This drastically reduces cooling efficiency, can cause your coils to freeze solid, and can permanently damage your blower motor. Always keep a spare filter at home so you never have to run your system unprotected.
Why is my air filter turning black so quickly?
If you pull out your air filter and find that it has turned completely black, it can be alarming. There are three common culprits behind a black air filter:
- Soot from Candles or Fireplaces: Burning scented candles, using oil lamps, or running a wood-burning fireplace produces fine soot particles. Because your HVAC system constantly circulates air, it will trap these microscopic black carbon particles, turning the filter black very quickly.
- Mold and Moisture: If your air filter is exposed to high humidity or a clogged condensate drain line, it can become damp. A damp filter coated in organic dust is the perfect breeding ground for mold. If you see black spots or the filter smells musty, discard it immediately and check for moisture issues.
- Heavy Indoor Pollutants: If you smoke indoors, have multiple long-haired pets, or live near a high-traffic road or active construction zone, the sheer volume of fine carbon and dust particles can turn your filter dark gray or black in a matter of weeks.
How do I clean a washable or reusable air filter?
If you have a washable electrostatic filter or a reusable mini-split mesh filter, proper cleaning is essential to maintain airflow. Follow these steps:
- Vacuum First: Use a soft brush attachment on your vacuum cleaner to gently remove loose surface dust, pet hair, and lint from both sides of the filter.
- Rinse in Reverse: Take the filter to a sink, shower, or backyard hose. Rinse it with lukewarm water, directing the water flow in the opposite direction of the airflow arrow. This pushes trapped dirt out of the media rather than forcing it deeper inside.
- Use Mild Soap if Needed: If the filter is greasy, spray it with a mild mixture of water and dish soap, let it sit for a few minutes, then rinse thoroughly.
- Dry Completely: Shake off excess water and prop the filter up in a well-ventilated area to air dry. Never reinstall a wet filter, as it will restrict airflow and encourage mold growth inside your system.
Conclusion
Regularly checking and replacing your AC air filter is a quick, easy, and highly effective way to keep your home comfortable while lowering your monthly energy bills. By taking five minutes to complete this simple task, you protect your system from costly breakdowns, prolong its lifespan, and ensure your family breathes clean, healthy air all year long.
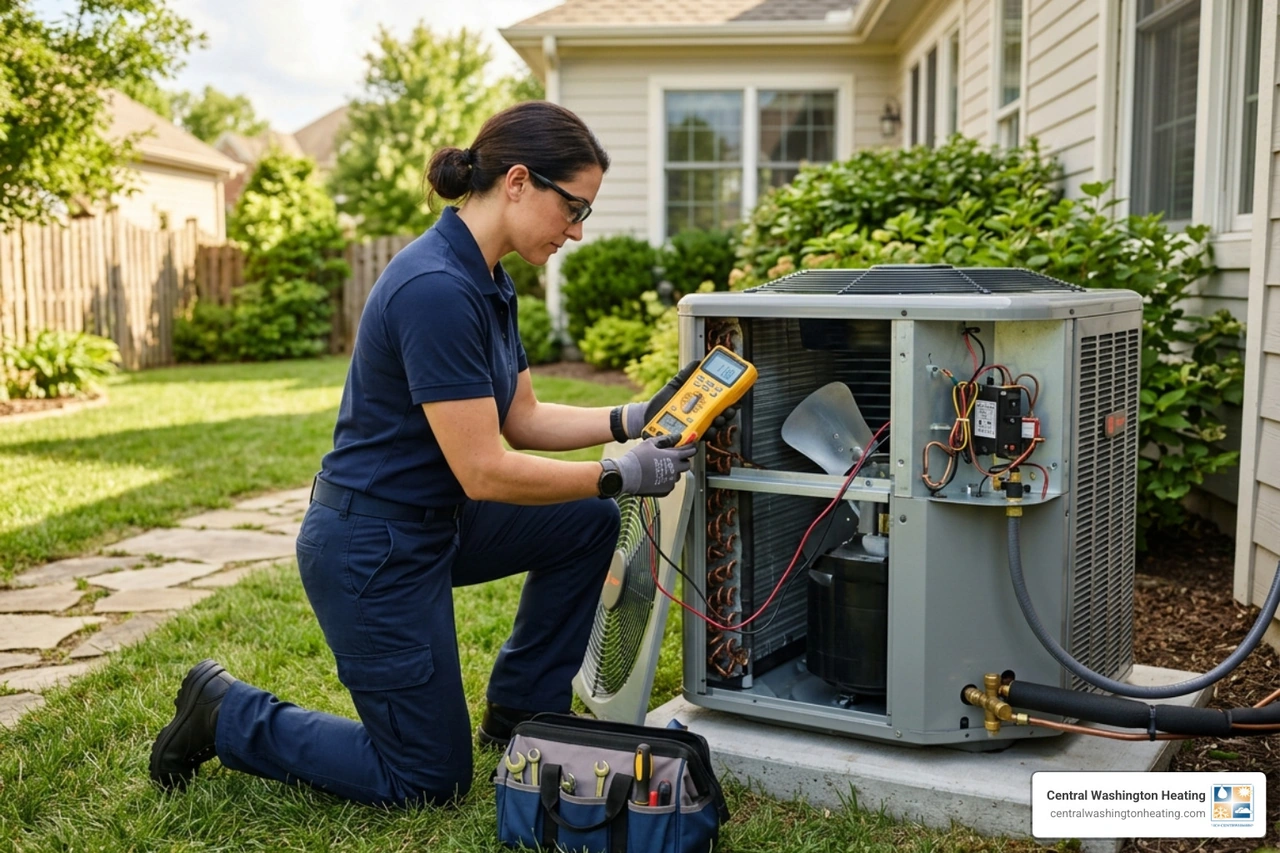
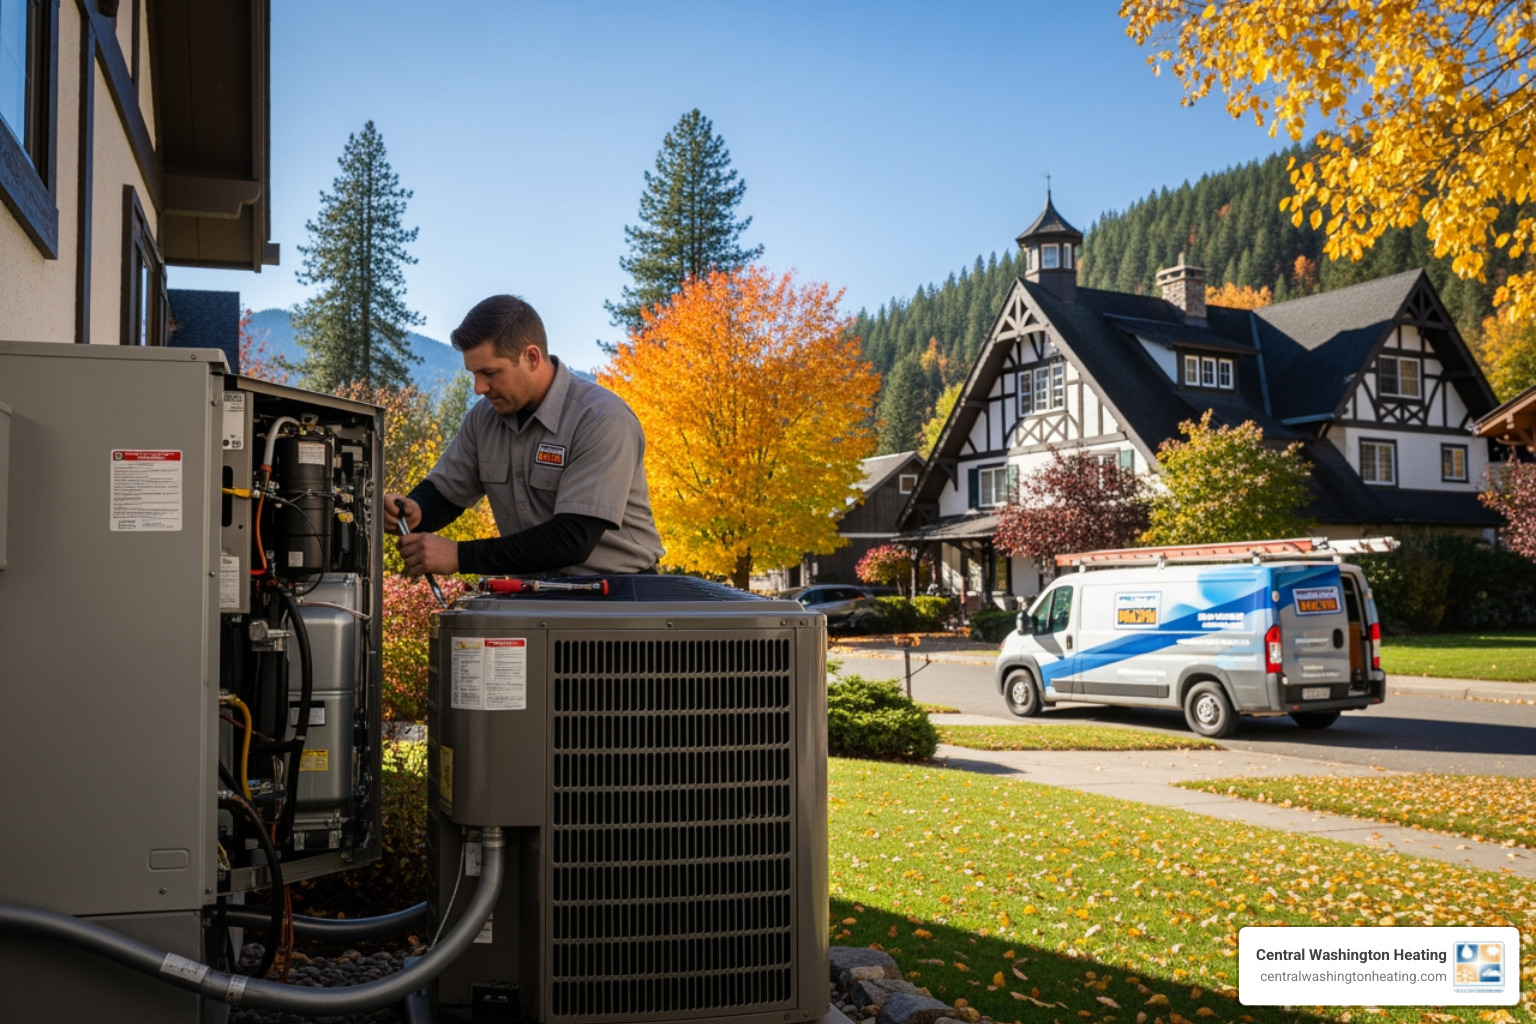
At Central Washington Heating, we have spent over 30 years providing trusted HVAC expertise to homeowners across the Wenatchee Valley, including Wenatchee, East Wenatchee, Leavenworth, Cashmere, Chelan, and Entiat. As a family- and veteran-owned business, we pride ourselves on delivering honest, reliable, and high-quality craftsmanship to our neighbors.
If you are experiencing weak airflow, unusual system noises, or want to ensure your system is fully prepared for the upcoming season, we are here to help. Contact us today to schedule your professional AC Maintenance in Wenatchee, WA!


.svg)


.svg)


