How to Check Your Thermostat Before Calling for Repair

How to Check Your Thermostat Before Calling for Repair
Why Knowing How to Check Your Thermostat Before Calling for Repair Can Save You Time and Money
Knowing how to check your thermostat before calling for repair is one of the most useful skills a homeowner in the Wenatchee Valley can have — because roughly 25% of furnace repair calls turn out to be simple thermostat issues, not equipment failures.
Before you schedule a service visit, run through these quick checks:
- Replace the batteries — dead or weak batteries are the most common cause of a blank screen or unresponsive thermostat
- Check the circuit breaker — look for a tripped switch labeled HVAC, Furnace, or Air Handler in your electrical panel
- Verify the mode setting — make sure the thermostat is set to Heat or Cool (not Off or Fan Only)
- Apply the 5-degree rule — set the target temperature at least 5°F above or below the current room temperature to trigger a system response
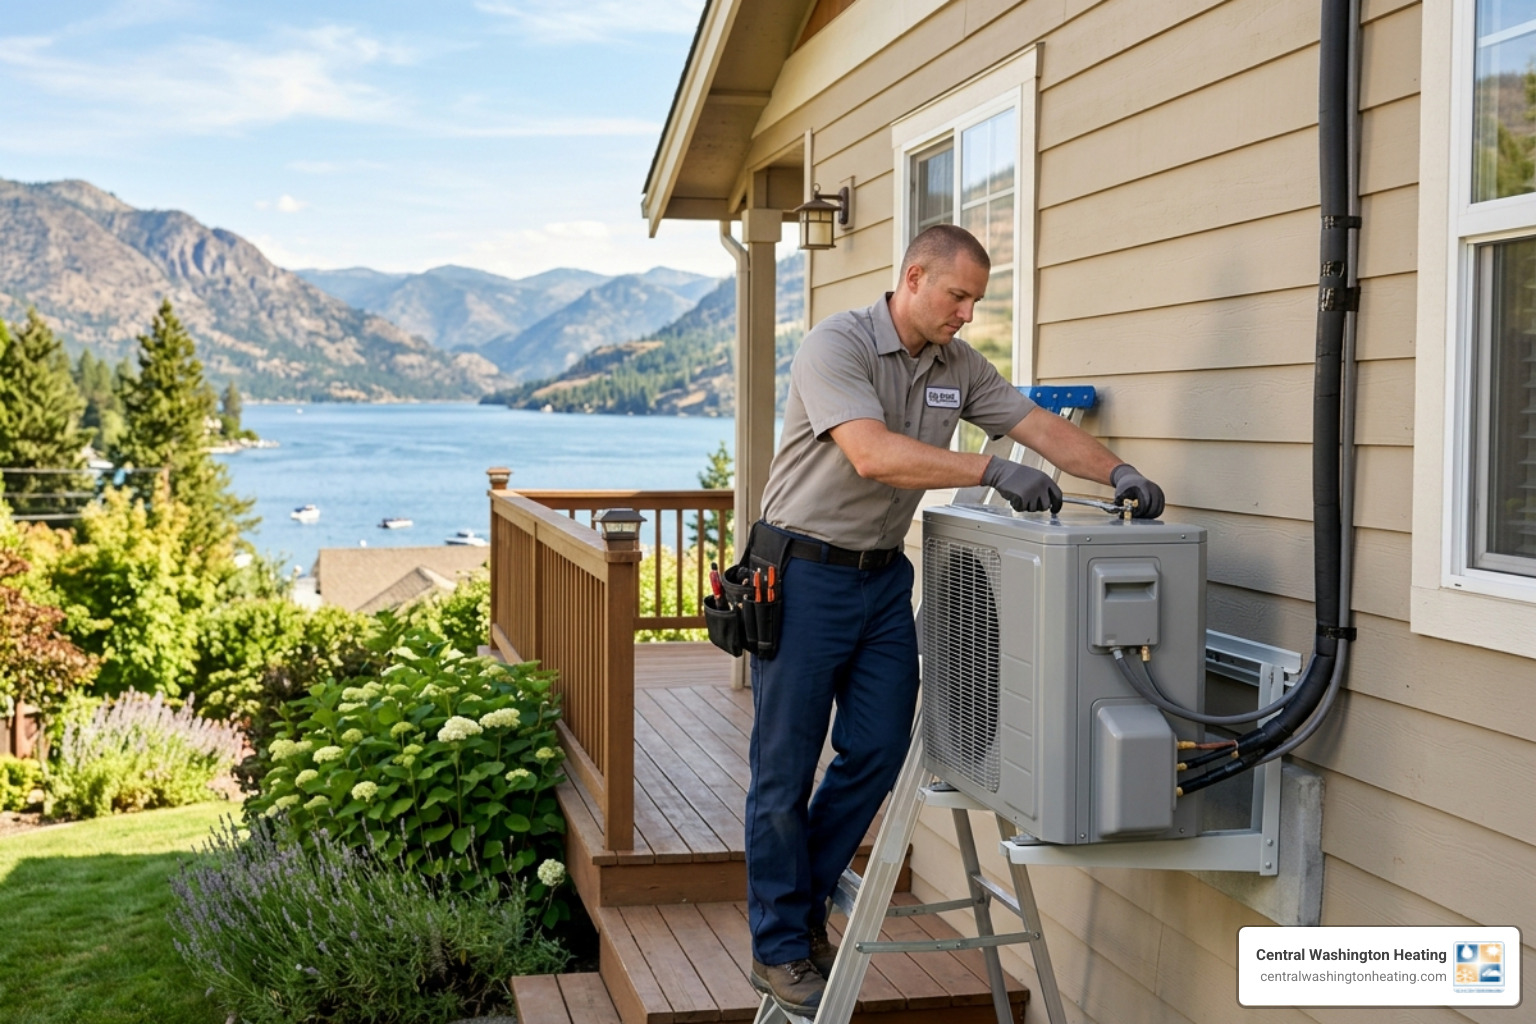
- Check the furnace power switch — a wall switch near your indoor unit may have been accidentally turned off
- Inspect thermostat placement — a unit in direct sunlight or near a heat source will read room temperature inaccurately
- Clean the thermostat — dust buildup on sensors can cause incorrect readings and erratic behavior
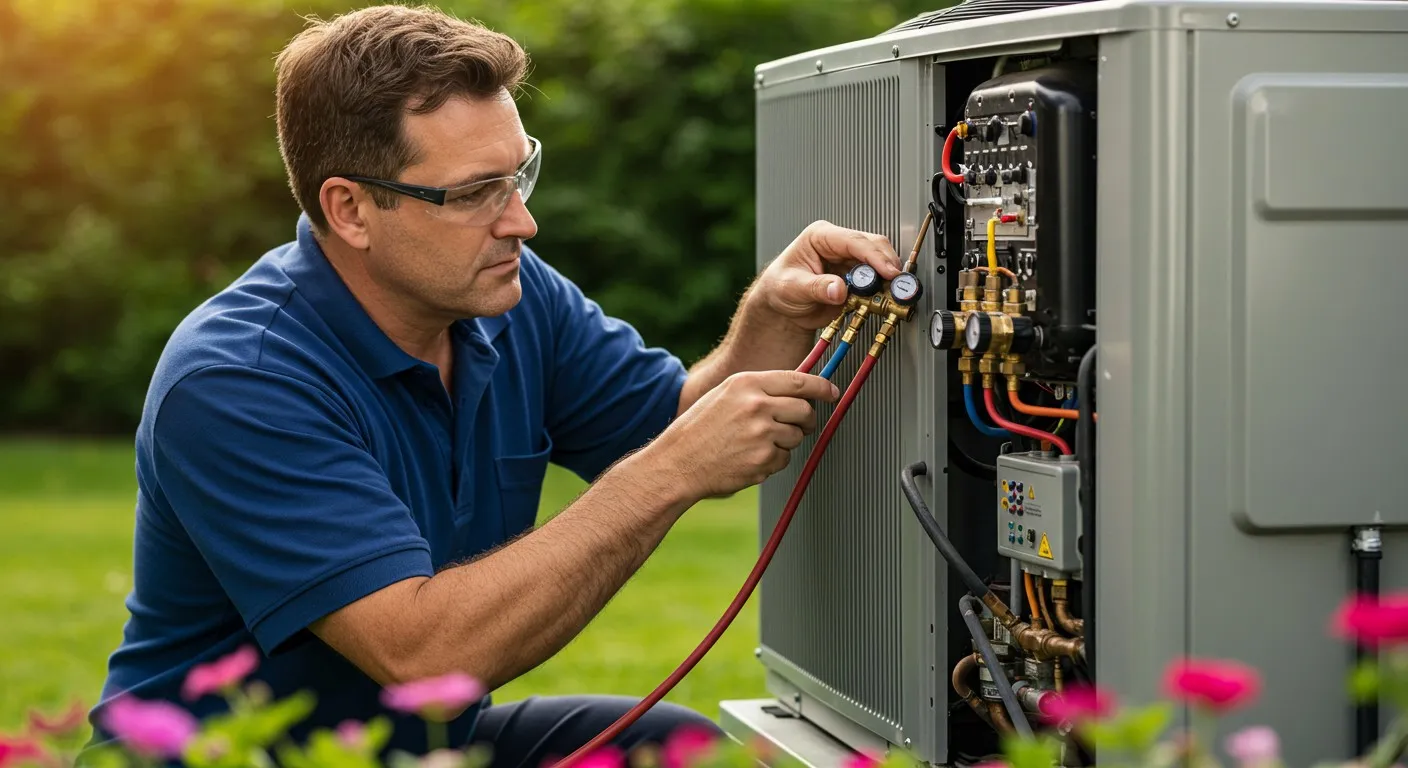
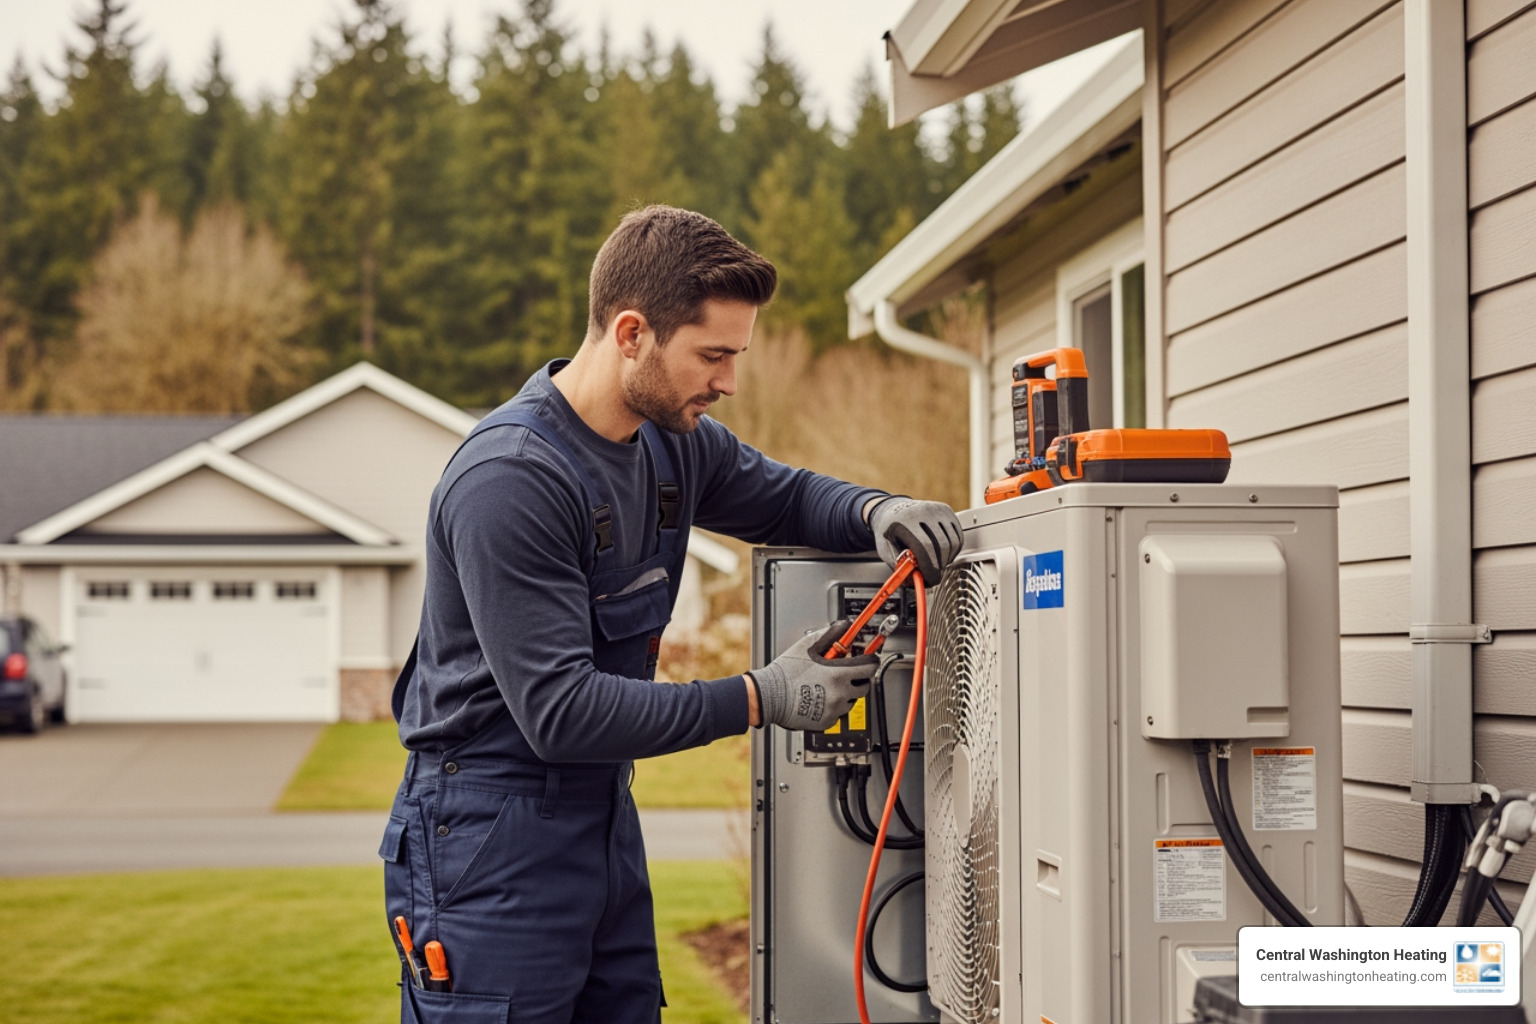
If none of those steps resolve the issue, the problem may lie elsewhere in your HVAC system — and that's when it makes sense to call a professional.
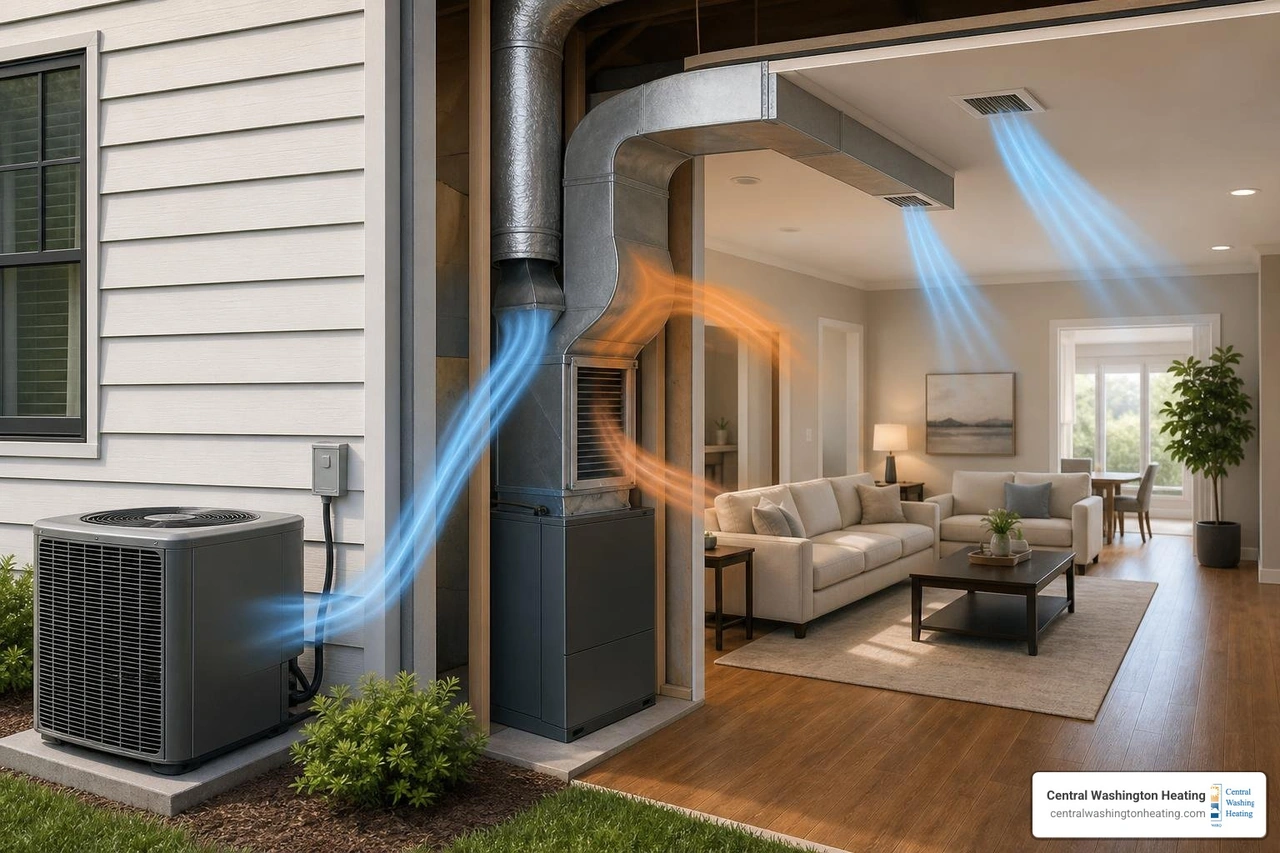
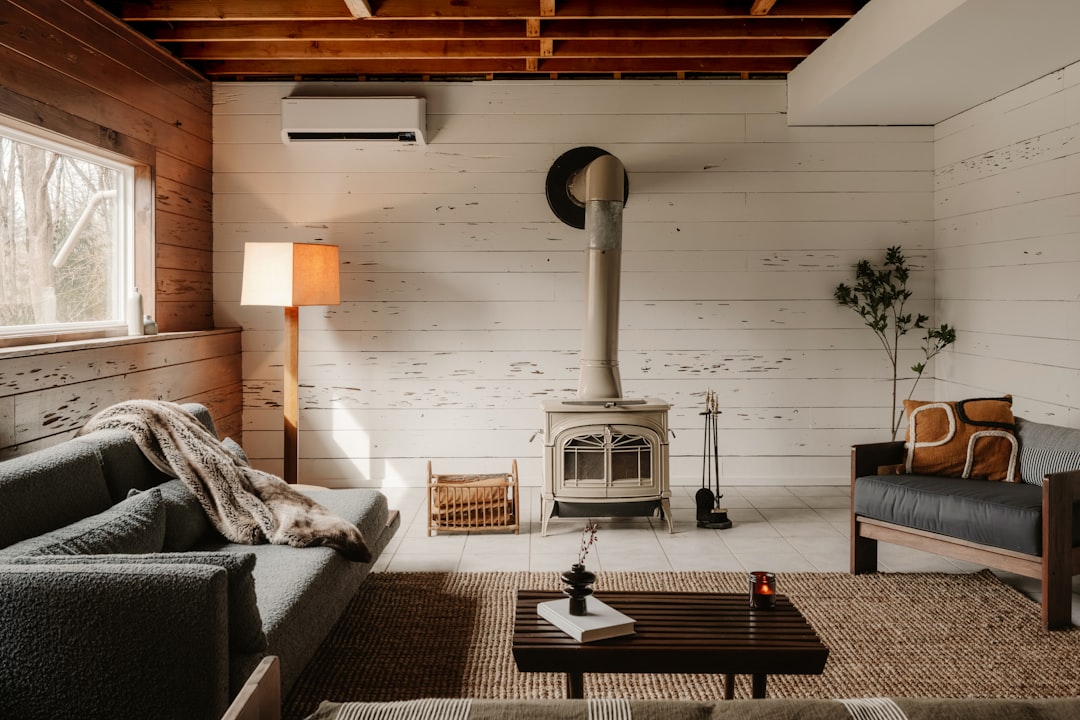
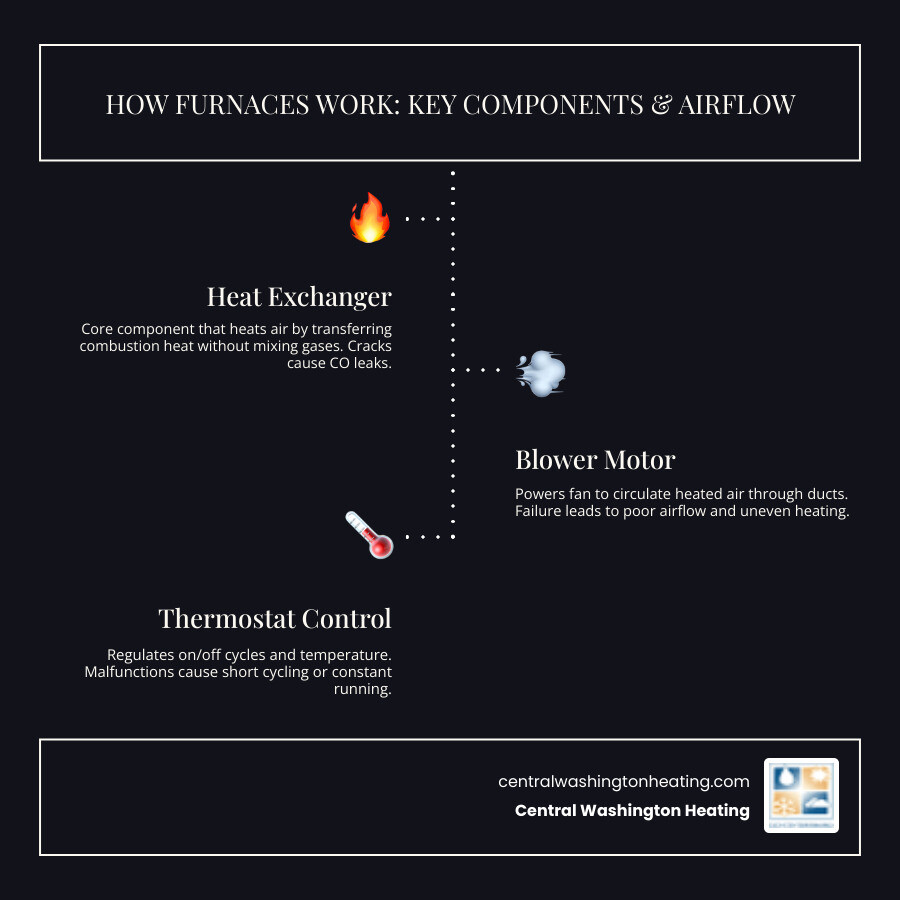
Your thermostat is the control center for your entire heating and cooling system. When it starts misfiring, everything suffers — from uneven temperatures across your home to energy bills that climb without explanation. The good news is that many of the most common thermostat problems in Central Washington homes have simple fixes you can check yourself in under ten minutes, without any special tools.

Before we dive into advanced diagnosis, it helps to understand exactly what this device does. To brush up on the basics, you can check out our Glossary: Thermostat page. Armed with this knowledge, you can confidently run through the steps below and potentially save yourself an unnecessary service call.
How to Check Your Thermostat Before Calling for Repair: Common Warning Signs
How do you know when your thermostat is actually the culprit behind your home comfort struggles? Often, a failing thermostat will send out subtle (and sometimes not-so-subtle) warning signs. Recognizing these signs early can prevent unnecessary strain on your electric heating or cooling equipment.
- A Completely Blank or Flickering Screen: If the display is dead or blinking erratically, your thermostat is either not receiving power or experiencing an internal electronic failure.
- Persistent Short-Cycling: This occurs when your heating or cooling system turns on and off too frequently (e.g., starting up and shutting down 10 to 15 times an hour instead of running in normal, efficient 15-minute blocks). Short-cycling is incredibly tough on your system, acting as a major "compressor killer" and dramatically increasing wear and tear.
- Temperature Mismatch (The "Polar Parlor" Effect): You set the temperature to a cozy 70°F, but the room feels like an icebox, or a separate digital thermometer placed nearby reads 64°F. This signal indicates your thermostat's internal sensor has drifted or failed.
- Unresponsive Controls or Sticky Buttons: If you press the buttons or tap the touchscreen and nothing happens, the physical switches or the internal circuit board may be failing.
- The "Click" with No Action: You hear the thermostat click to signal a call for heat or cool, but the indoor air handler or outdoor heat pump remains completely silent.
If you are experiencing these issues with your air conditioning during a hot Wenatchee summer, checking these symptoms is your first line of defense. For more specialized cooling troubleshooting, check out our guide on AC Thermostat Repair.
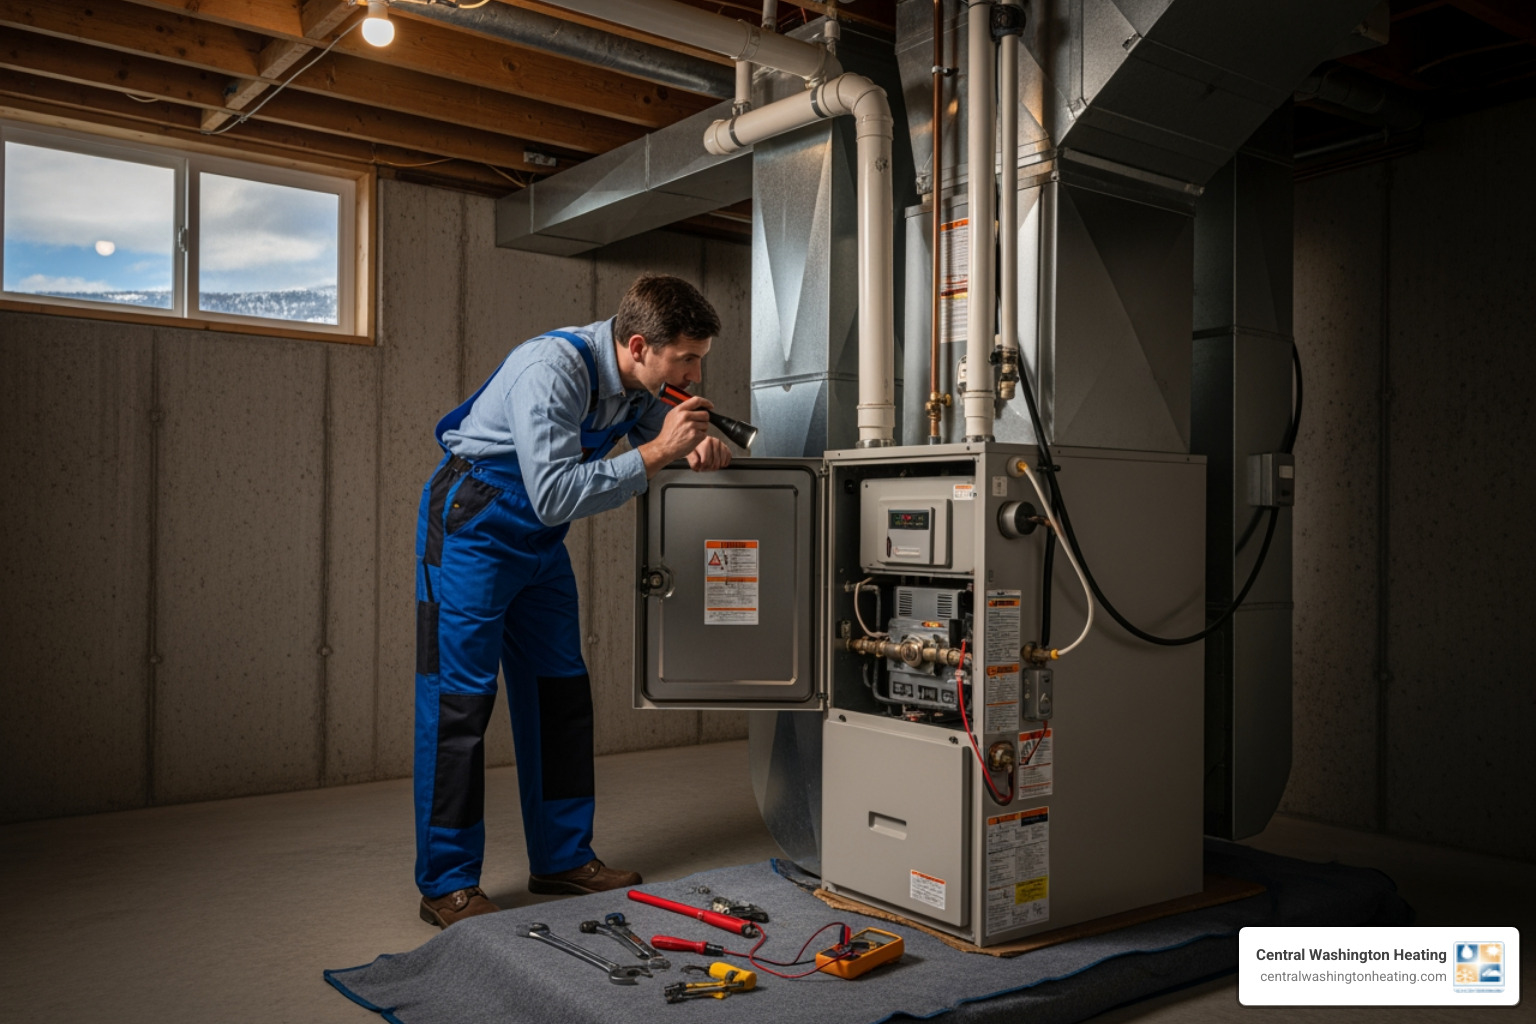
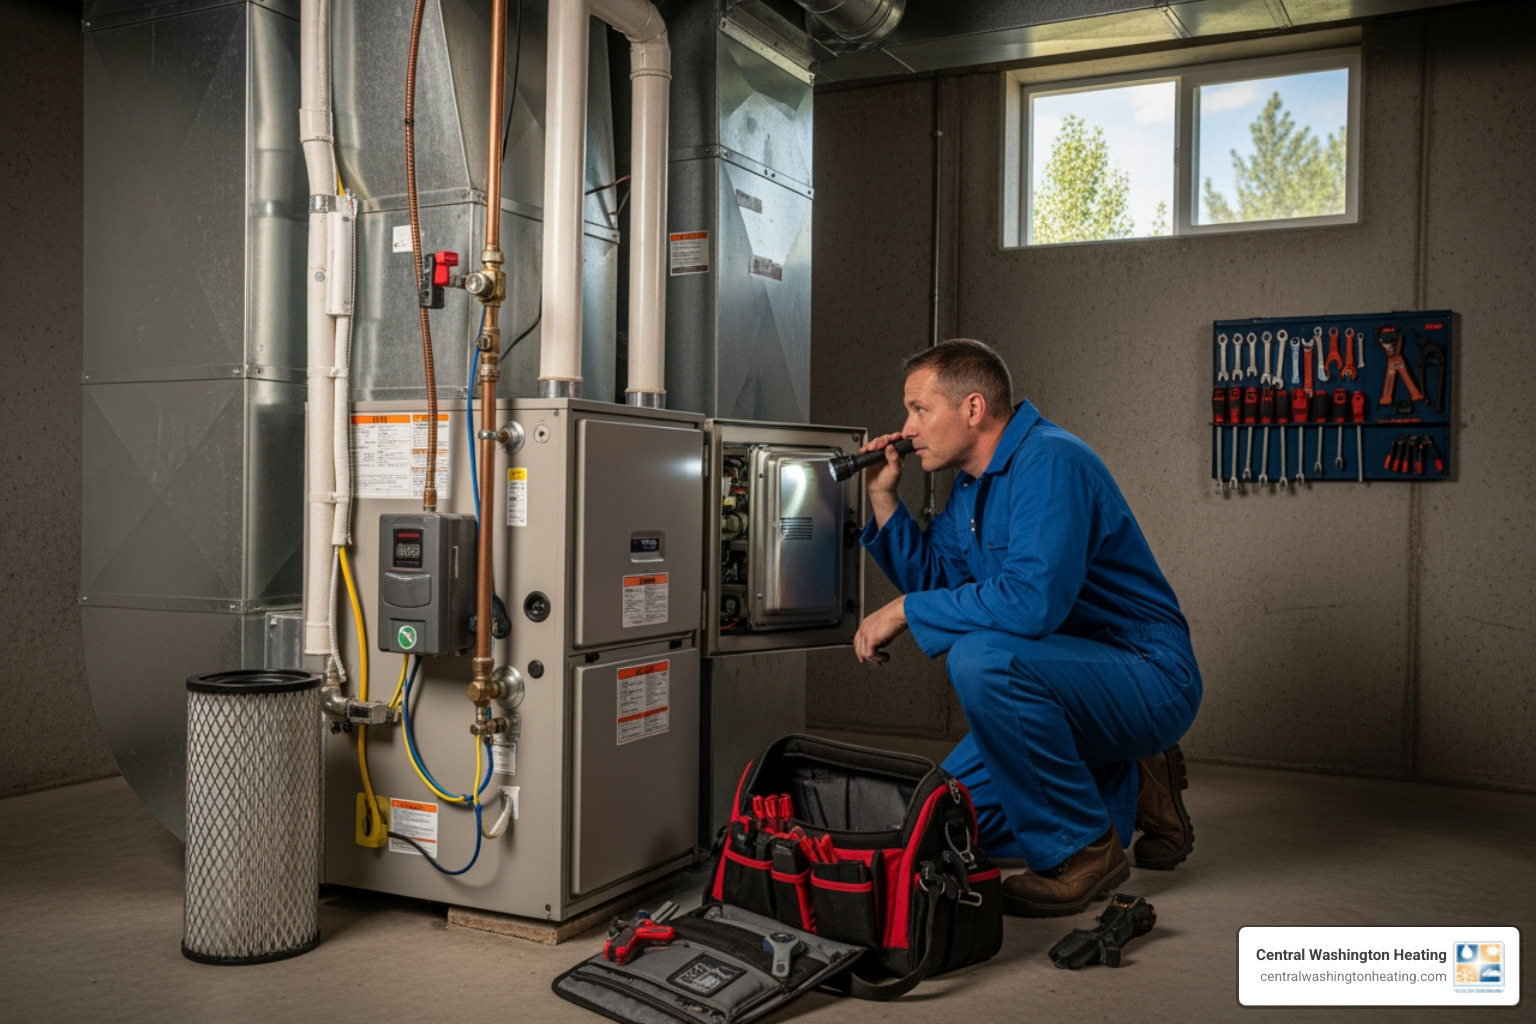
Step-by-Step Guide: The Essential Power and Settings Audit
When your home's climate control stops working, it is easy to assume the worst. However, many issues stem from a simple interruption in the power supply or an accidental setting change. Before panic sets in, perform a systematic power and settings audit.
How to check your thermostat before calling for repair when the screen is blank
A blank screen is the most common reason homeowners think their entire HVAC system has broken down. Fortunately, it is also one of the easiest issues to diagnose.
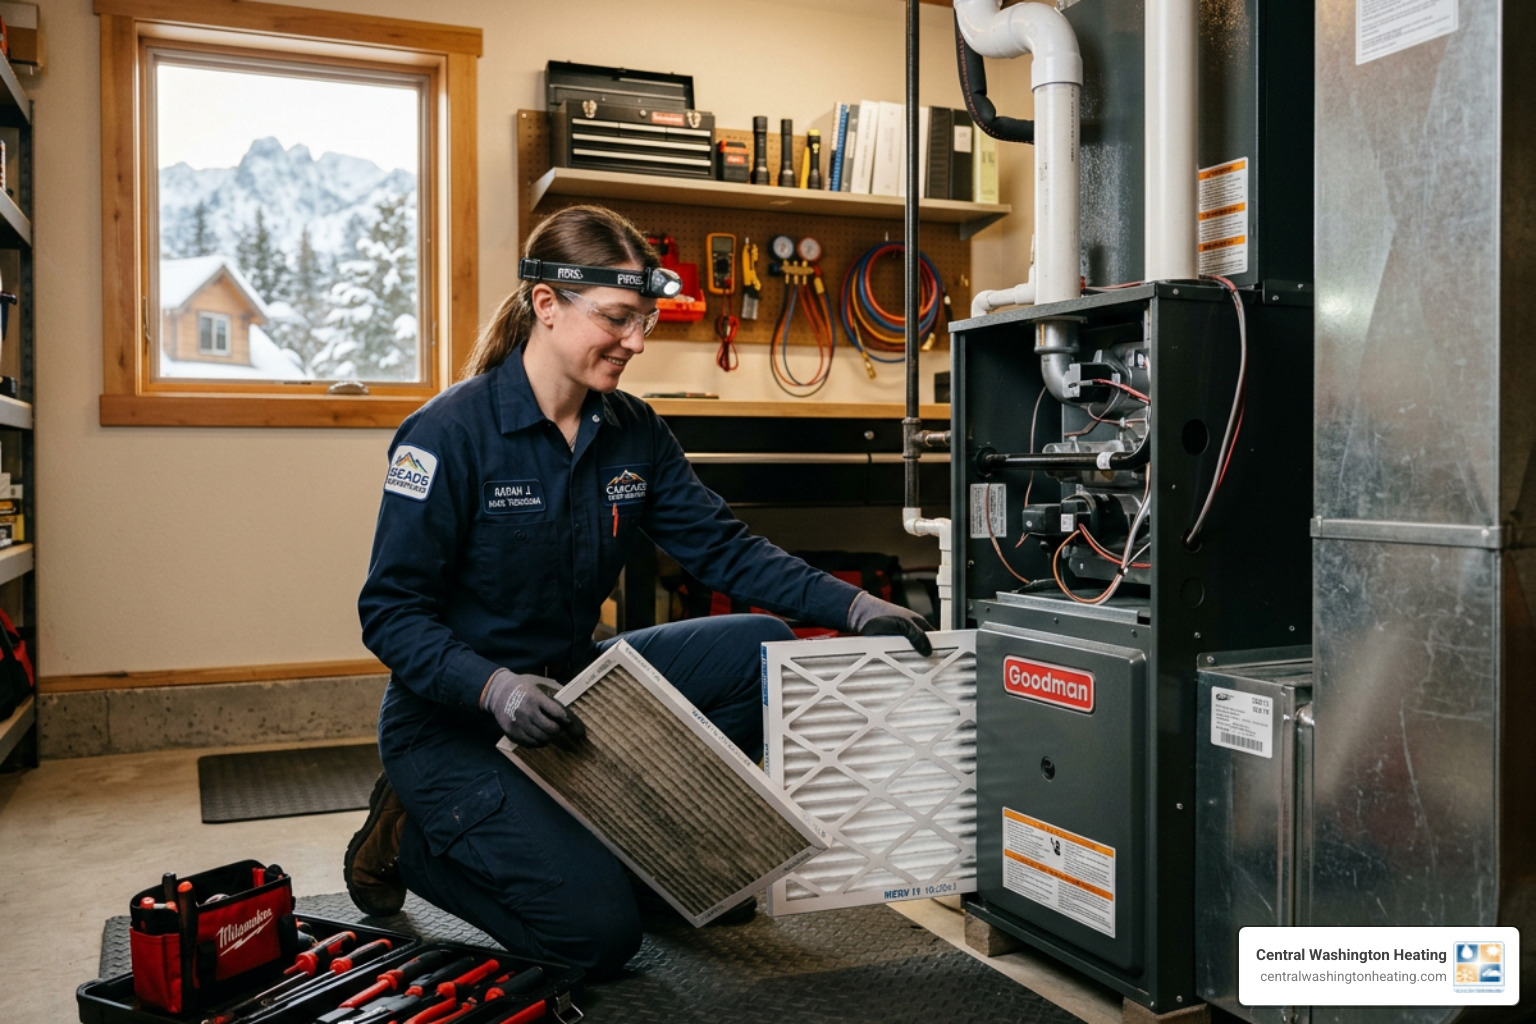
- Replace the Batteries First: Many modern digital and programmable thermostats rely on batteries (usually AA or AAA alkaline or lithium) to power their displays and memory. Even if your system is wired to your home's electrical grid, those batteries serve as crucial backups. Pop off the thermostat cover and swap the old batteries for fresh, high-quality ones. We recommend replacing these annually—a great trick is to swap them out at the same time you change your smoke detector batteries.
- Check the Circuit Breaker: Thermostats are typically tied to the same electrical breaker that powers your indoor electric furnace or air handler. Head to your home's main electrical panel and look for a tripped breaker. If you find one, switch it fully to the "Off" position and then back to "On." Safety note: If the breaker trips again immediately, do not try to reset it a second time. This indicates an electrical fault that requires professional attention.
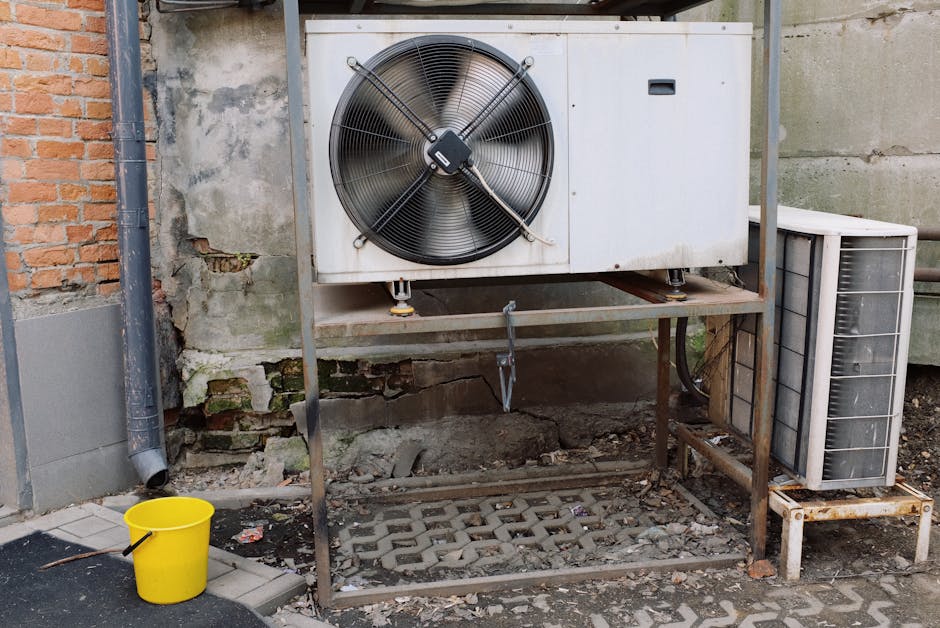
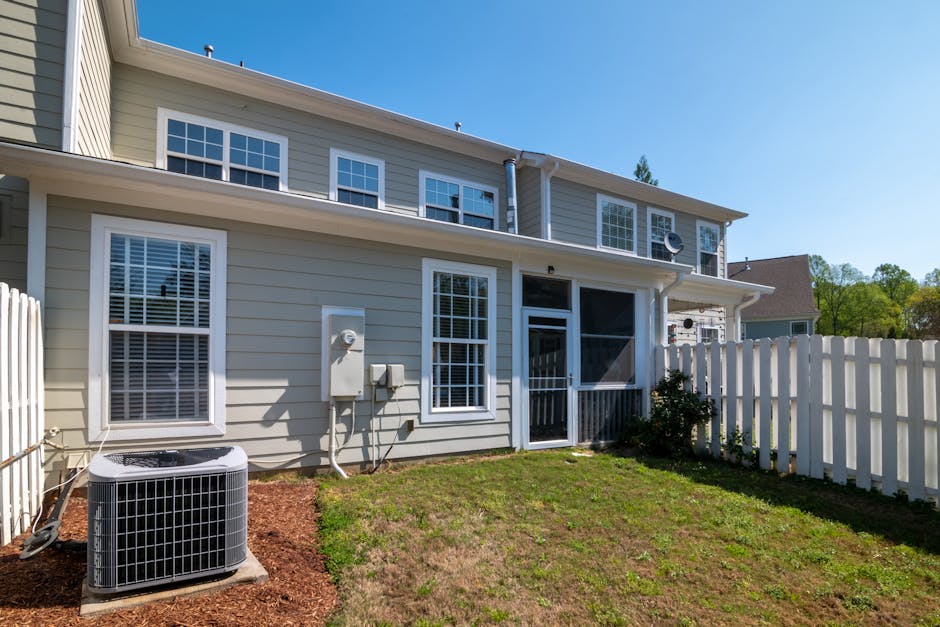
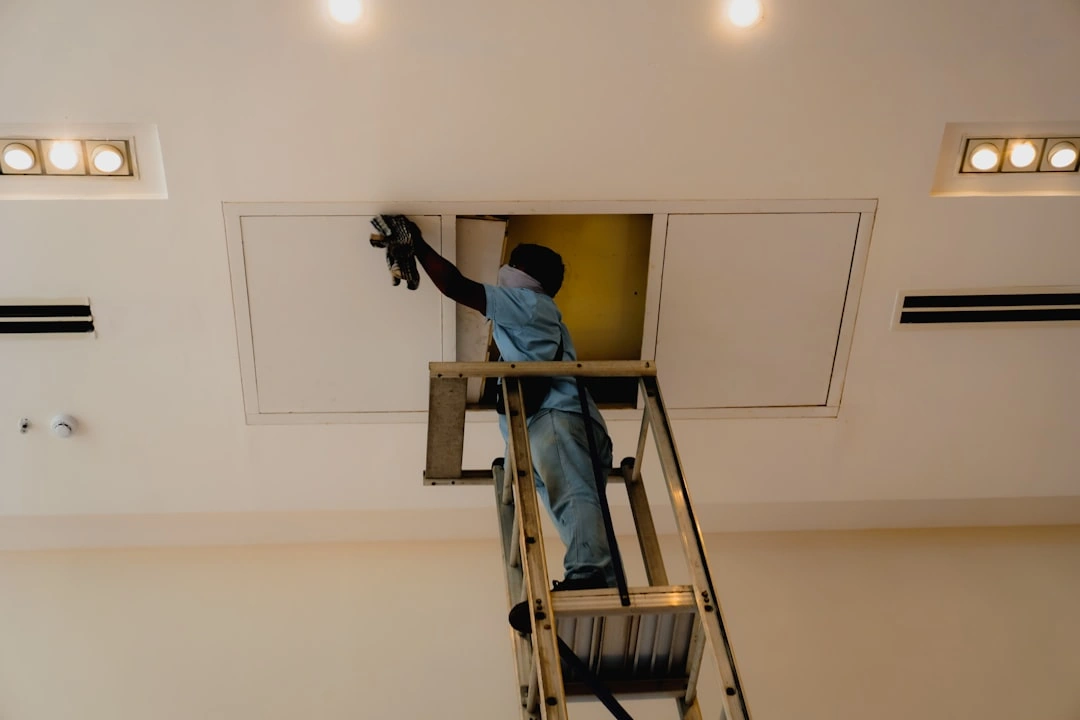
- Locate the Furnace Power Switch: Electric heating systems and air handlers have a physical power switch—often looking exactly like a standard light switch—located on or near the indoor unit in your utility closet, basement, or crawlspace. It is surprisingly easy to bump this switch while moving boxes or holiday decorations. Ensure this switch is flipped to "On."
- Verify the Blower Door Safety Switch: Your indoor unit features a safety switch behind the blower compartment door. If this door is loose or was not fully closed after a filter change, the switch will cut all power to the system, which in turn can cause a blank display on your thermostat. Make sure the panel door is flush and tightly secured.
If your display is still blank after checking these power sources, you might be dealing with a larger electrical issue. If you suspect the problem is tied to your heating unit itself, read our helpful guide on Troubleshooting a Furnace That Won't Turn On.
Verifying settings and how to check your thermostat before calling for repair
If your thermostat has power but the system still is not responding, the next step is to audit the programming and system modes.
- Confirm the Active Mode: It sounds simple, but double-check that your thermostat is set to "Heat" during the chilly winter months in Leavenworth or "Cool" during a sunny Chelan summer. If it was accidentally bumped to "Off" or "Fan Only," your system will not respond.
- Use the 5-Degree Rule: To test if your thermostat is communicating with your heating or cooling system, manually adjust the target temperature at least 5°F past the current room temperature. If your home is currently 68°F, set it to 73°F in "Heat" mode. You should hear a soft click from the thermostat, followed shortly by the sound of your electric air handler starting up.
- Understand "Auto" vs. "On" Fan Settings:
- Auto: The blower fan only runs when the system is actively heating or cooling your air. This is the most energy-efficient setting.
- On: The fan runs continuously, even when the system is not actively heating or cooling. While this provides excellent continuous air filtration, it can lead to higher energy bills and make you feel like your system is blowing lukewarm or cool air when it shouldn't be.
- Check for Active Schedules or Hold Settings: If you have a programmable or smart thermostat, an old program or an accidental "Hold" setting might be overriding your manual adjustments. Clear any temporary holds or reset the schedule to see if normal operation resumes.
If your cooling system refuses to turn on even after verifying these settings, you can find more targeted steps in our AC Unit Troubleshooting guide.
Physical Maintenance, Location, and Calibration
If your power and settings check out, the issue might be physical. Dust, poor placement, or improper installation can easily disrupt how your thermostat measures the temperature of your home.

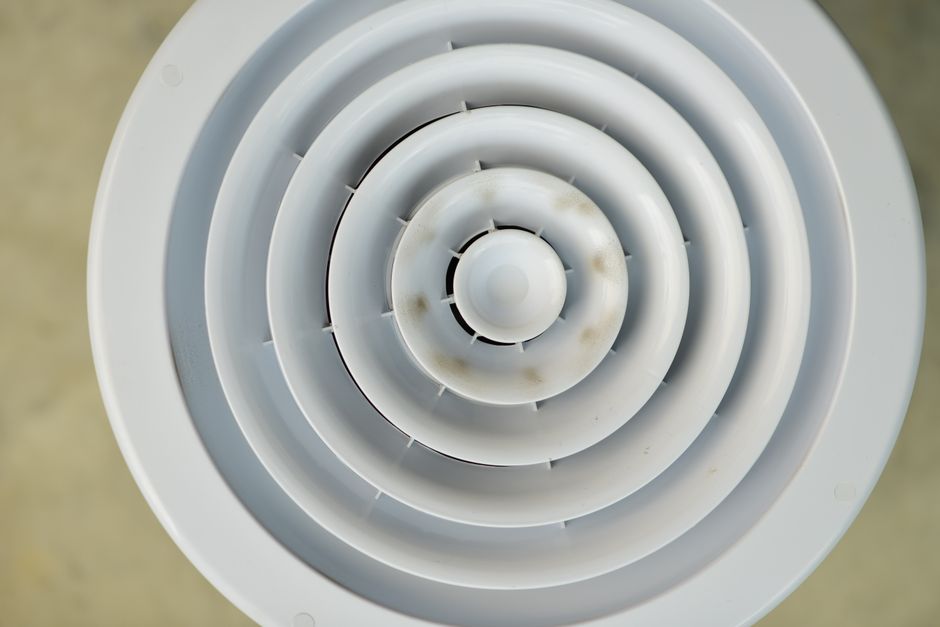
Cleaning and Dust Removal
Over time, dust, pet hair, and "mischievous" dust bunnies can settle on your thermostat’s internal sensors. For older mechanical or bimetal thermostats, dust can physically block the contacts from closing, preventing the system from starting.
To clean it, carefully remove the outer cover. Use a soft-bristled paintbrush, a clean paint stick wrapped in a microfiber cloth, or a can of compressed air to gently blow away any accumulated debris. Avoid touching the delicate internal coils or sensors with your fingers.
The Impact of Location Bias
Your thermostat can only measure the temperature of the air immediately surrounding it. If it is mounted in a poor location, it will give false readings to your entire system:
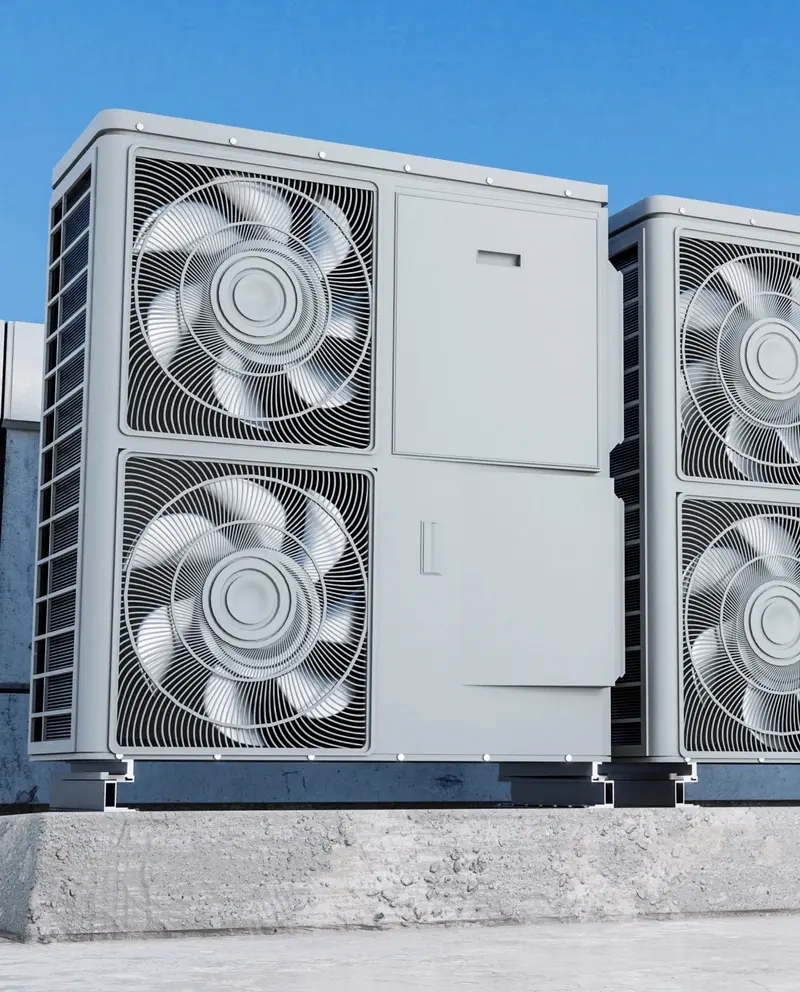
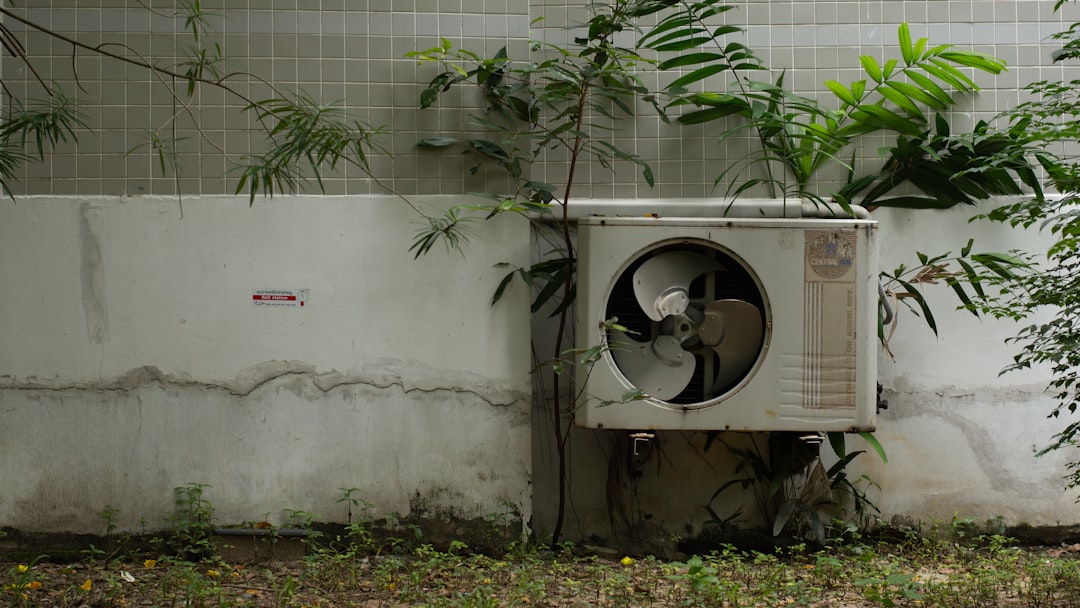
- Direct Sunlight: If mounted across from a large, sunny window, the thermostat will think your home is much warmer than it actually is, causing your air conditioner to run nonstop or your electric heater to shut off prematurely.
- Drafty Areas: Placing a thermostat near exterior doors, drafty hallways, or active supply vents can cause rapid temperature fluctuations, triggering frequent short-cycling.
- Interior Walls Only: A thermostat should always be mounted on an interior wall, at shoulder height (about 5 feet off the floor), where natural air currents provide an accurate average of your home's temperature.
Level Mounting
For older mercury-switch thermostats, being perfectly level is not just an aesthetic choice—it is a functional requirement. Mercury switches rely on gravity to roll a small drop of mercury across electrical contacts. If the housing is tilted even slightly, the calibration will be thrown off. Use a small bubble level to ensure the unit is perfectly straight on the wall.
Comparing Thermostat Types
Understanding what type of thermostat you have can help you tailor your troubleshooting. Here is a quick reference table comparing the three main categories found in Central Washington homes:
| Feature | Manual / Analog | Programmable | Smart / Wi-Fi |
|---|---|---|---|
| Power Source | Low-voltage wiring (no batteries) | Batteries or low-voltage wiring | Continuous 24V power (C-wire or adapter) |
| Accuracy | Moderate (subject to calibration drift) | High (digital thermistor) | Excellent (digital thermistor + remote sensors) |
| Control Method | Physical sliders, dials, or levers | Digital buttons and schedules | Touchscreen, smartphone apps, voice control |
| Best Troubleshooting Step | Leveling the unit and cleaning contacts | Replacing batteries and checking schedules | Restarting router and checking firmware updates |
| Average Lifespan | 15–20+ years | 10–12 years | 8–10 years |
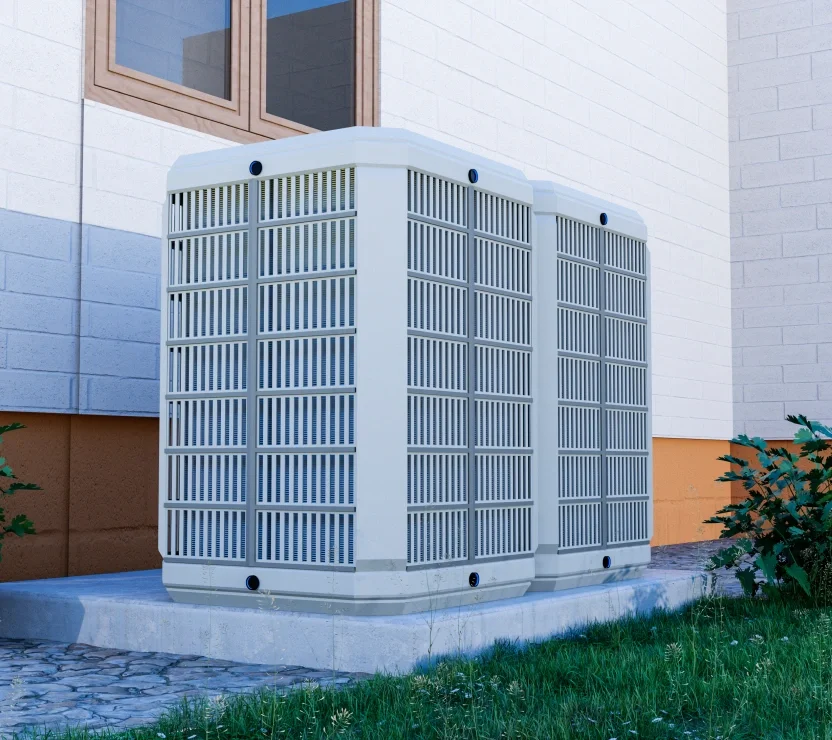
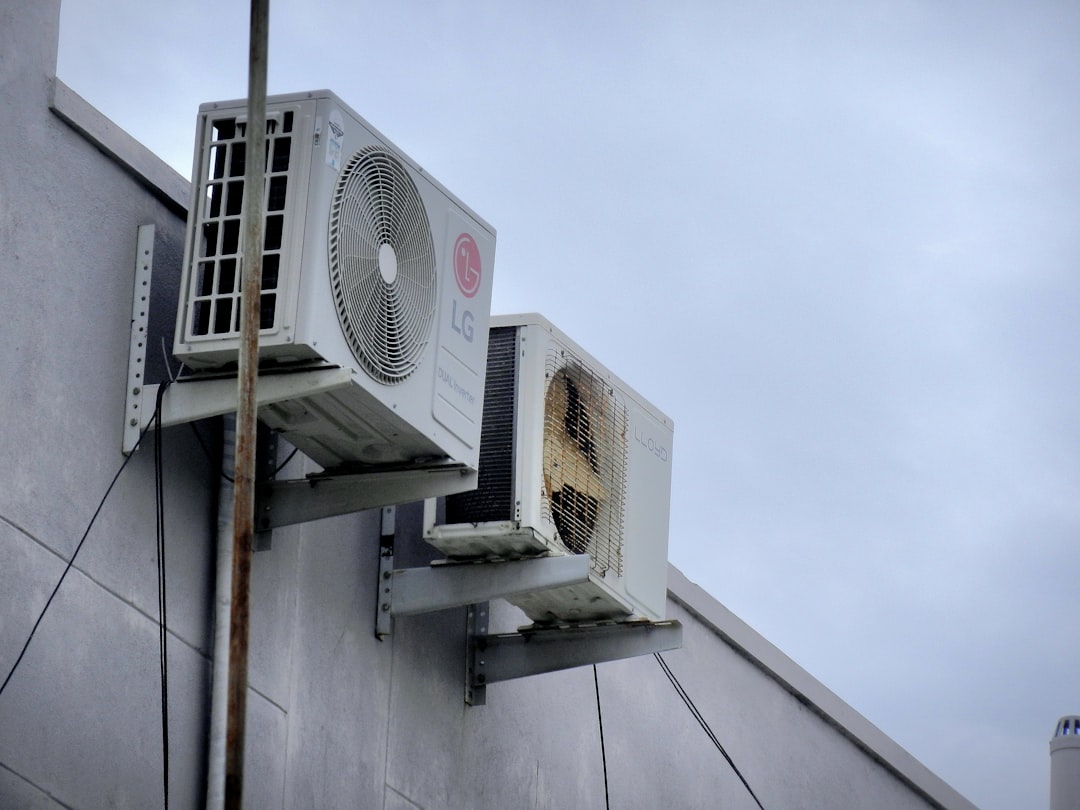
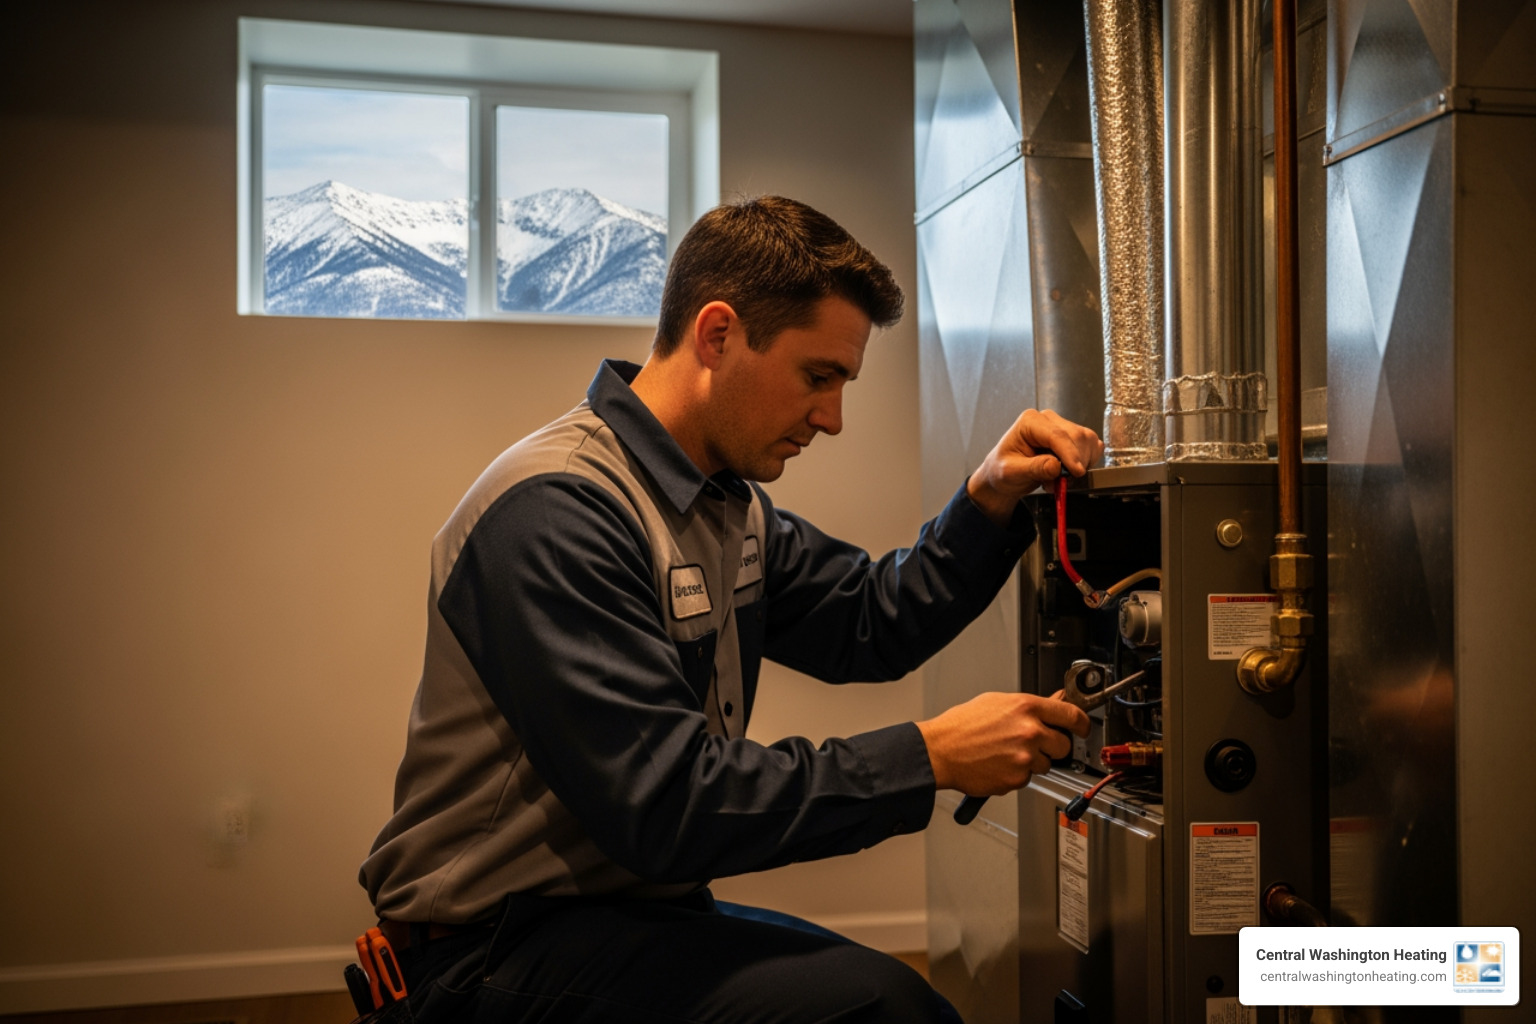
Distinguishing Thermostat Issues From HVAC System Failures
Before you assume your thermostat is broken and needs to be replaced, it is vital to determine if the problem is actually a system-level failure. Sometimes, other components masquerade as thermostat issues.
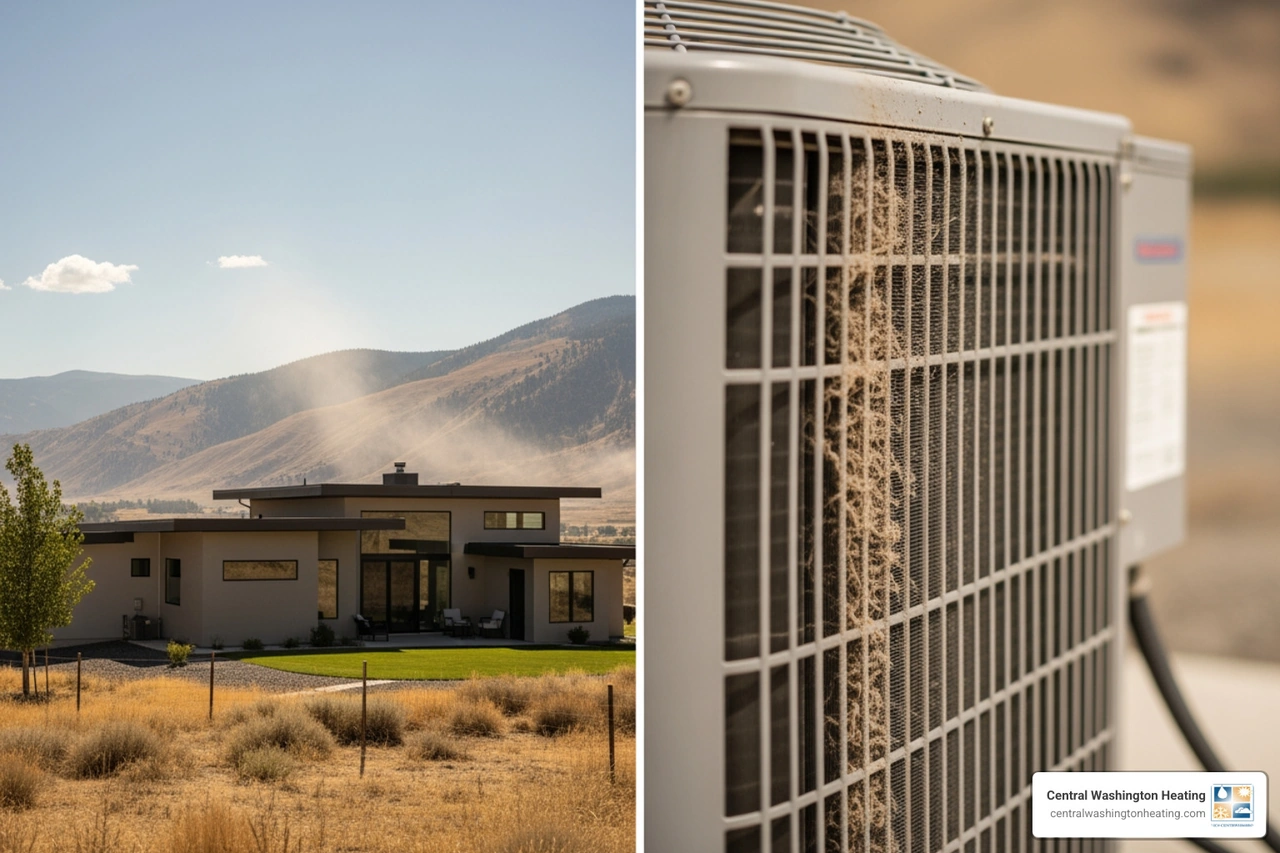
- The Dirty Air Filter Trap: If your electric heating system runs for a few minutes and then abruptly shuts down (short-cycling), your first instinct might be to blame the thermostat. However, a heavily clogged air filter restricts airflow, causing the heat exchanger to overheat and trigger a safety shutdown. Replacing a dirty filter can lower your system's energy use by 5% to 15% and restore normal cycling.
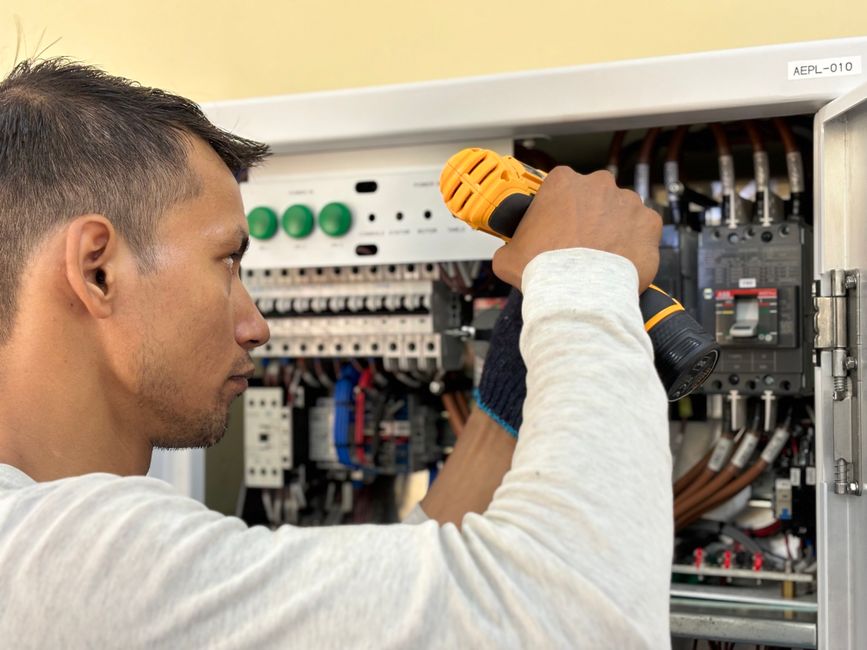
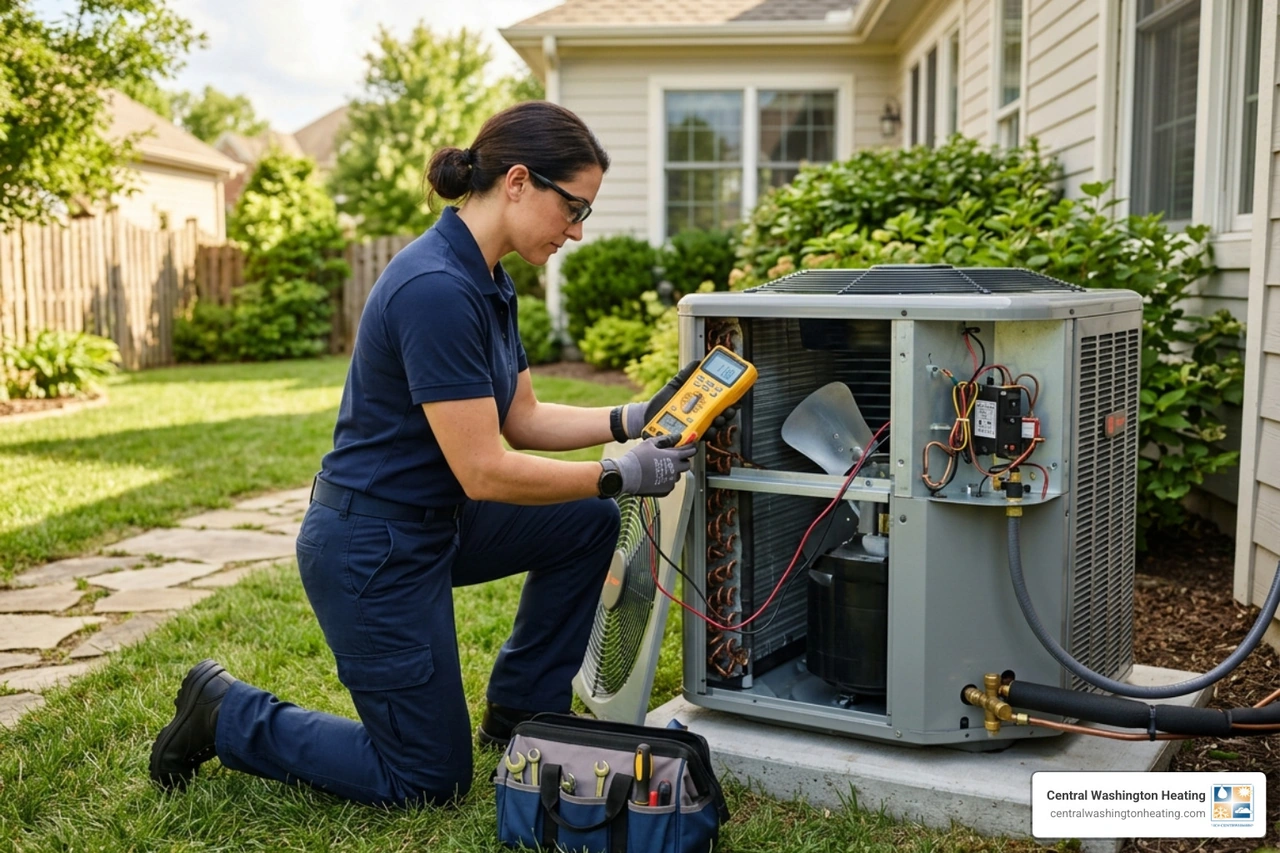
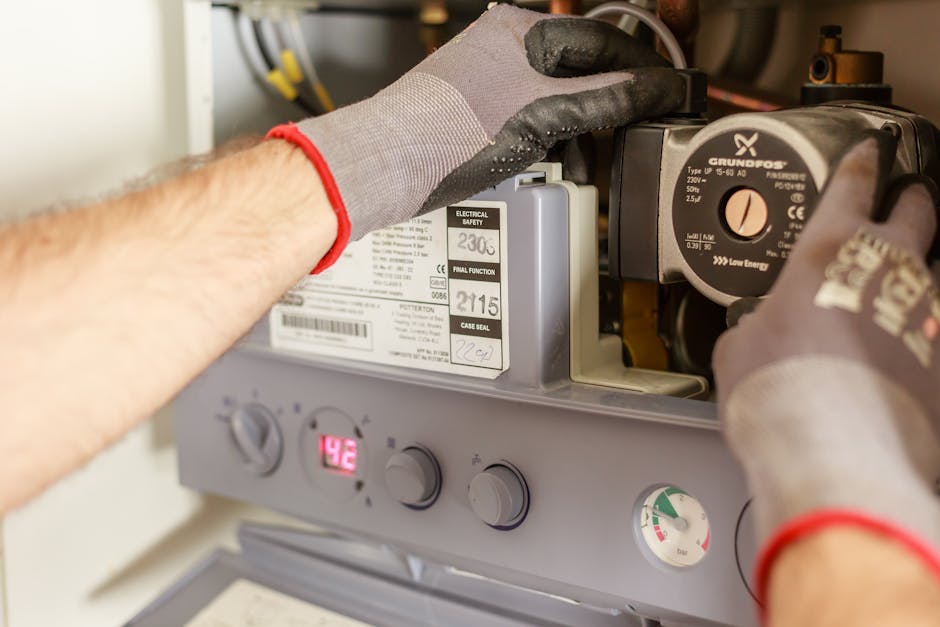
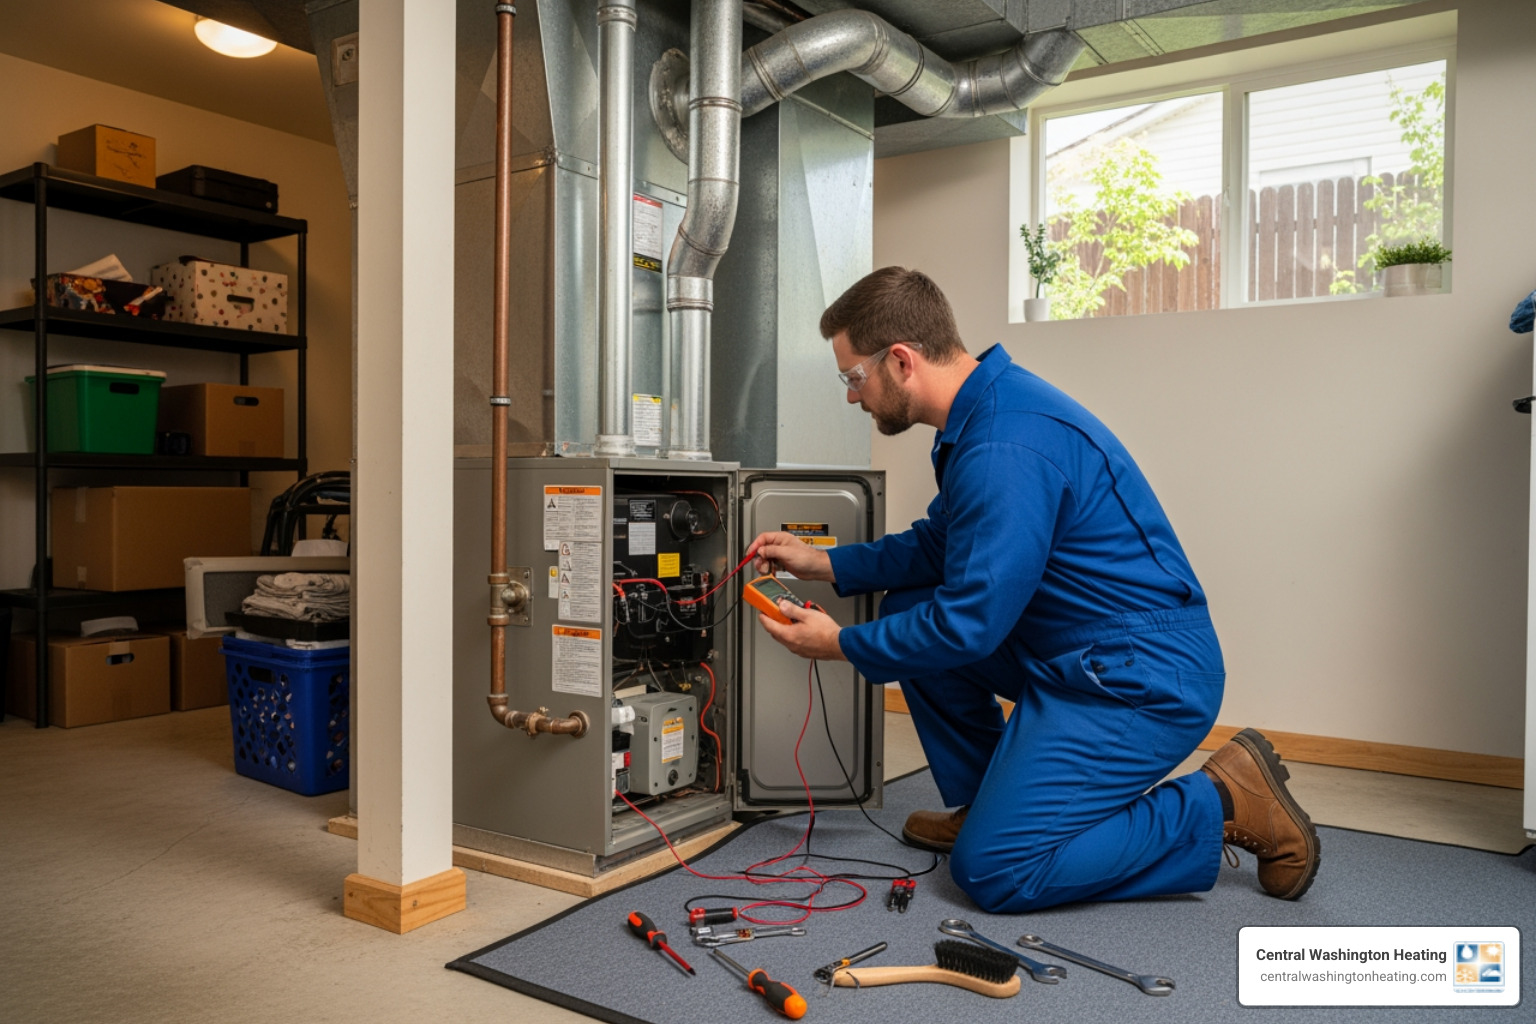
- The Jumper Test (For Advanced DIYers): If you want to confirm whether the thermostat or the heating unit is at fault, a professional technician will often perform a "jumper test." With the power turned off at the breaker, they remove the thermostat faceplate to expose the wiring terminals. By temporarily connecting the red (R) power wire directly to the white (W) heating wire using a small jumper wire, and then restoring power, they can see if the electric furnace starts up. If it does, the thermostat is faulty. If it does not, the issue lies within the furnace control board or heating elements. If you are uncomfortable handling low-voltage wiring, always leave this test to a licensed professional.
- Checking for Furnace Fault Codes: Modern electric air handlers and heat pumps feature diagnostic LED lights on their main control boards (often visible through a small plastic window on the unit's cover). If these lights are flashing in a specific pattern, consult your system manual to identify the fault code.
If you are still trying to narrow down the root cause of your home comfort issues, try using our interactive HVAC Troubleshooter tool to guide you through the process.
Frequently Asked Questions about Thermostat Troubleshooting
How long do home thermostats typically last?
On average, most modern digital and smart thermostats last approximately 10 years. Over time, the internal electronic sensors (thermistors) can drift, leading to inaccurate temperature readings. Additionally, physical wear and tear on touchscreens and buttons can cause the device to become unresponsive. Older mechanical bimetal thermostats can last significantly longer (often 20 years or more), but they lack the precision and energy-saving features of modern models.
Can a bad thermostat increase my energy bills?
Yes, significantly. If your thermostat's sensor drifts by just 2°F to 3°F, it can cause your heating or cooling system to run for hours longer than necessary each week. For example, if your thermostat reads the room as colder than it actually is, it will keep your electric furnace running unnecessarily.
According to the U.S. Department of Energy, simply turning your thermostat back 7°F to 10°F from its normal setting for eight hours a day can save you up to 10% a year on heating and cooling costs. If a malfunctioning thermostat prevents you from scheduling these setbacks, you are missing out on major savings.
Can I upgrade to a smart thermostat myself?
While many homeowners successfully install smart thermostats, compatibility is a major factor. Most modern smart thermostats require a "C-wire" (common wire) to provide continuous 24-volt power for their Wi-Fi connection and color displays. If your older home in Cashmere or Malaga only has a two-wire or four-wire system without a C-wire, you may need a power adapter kit or new wiring run from your air handler.
To ensure your new smart upgrade is perfectly compatible with your heat pump or electric heating system, it is highly recommended to have a professional handle the installation. You can learn more about this process by reading our guide on Smart Thermostat Install.
Conclusion
Taking a few minutes to learn how to check your thermostat before calling for repair can save you from an unnecessary service call and get your home back to a comfortable temperature in no time. Whether it is as simple as swapping out dead batteries, flipping a tripped circuit breaker, or gently dusting off old sensor coils, many common thermostat issues are well within a homeowner's ability to diagnose.
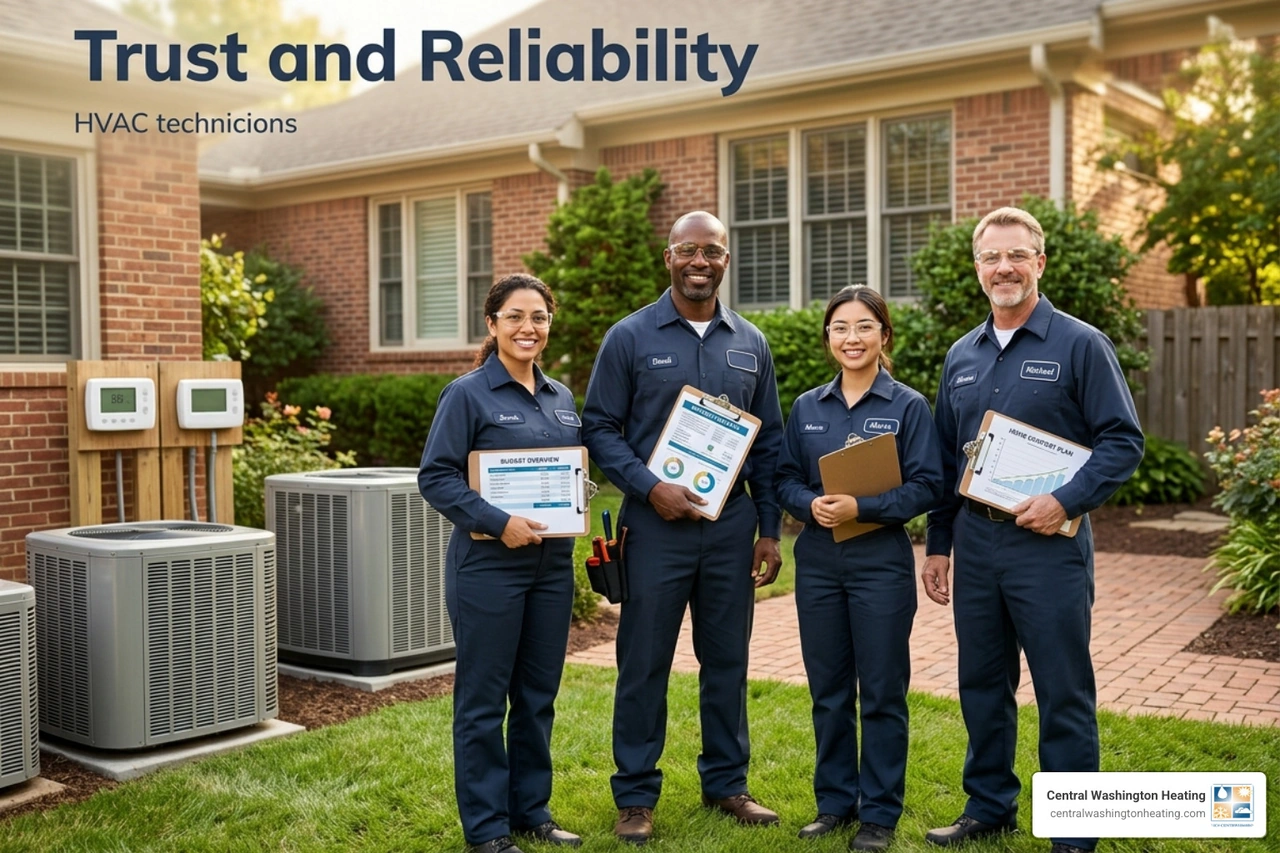
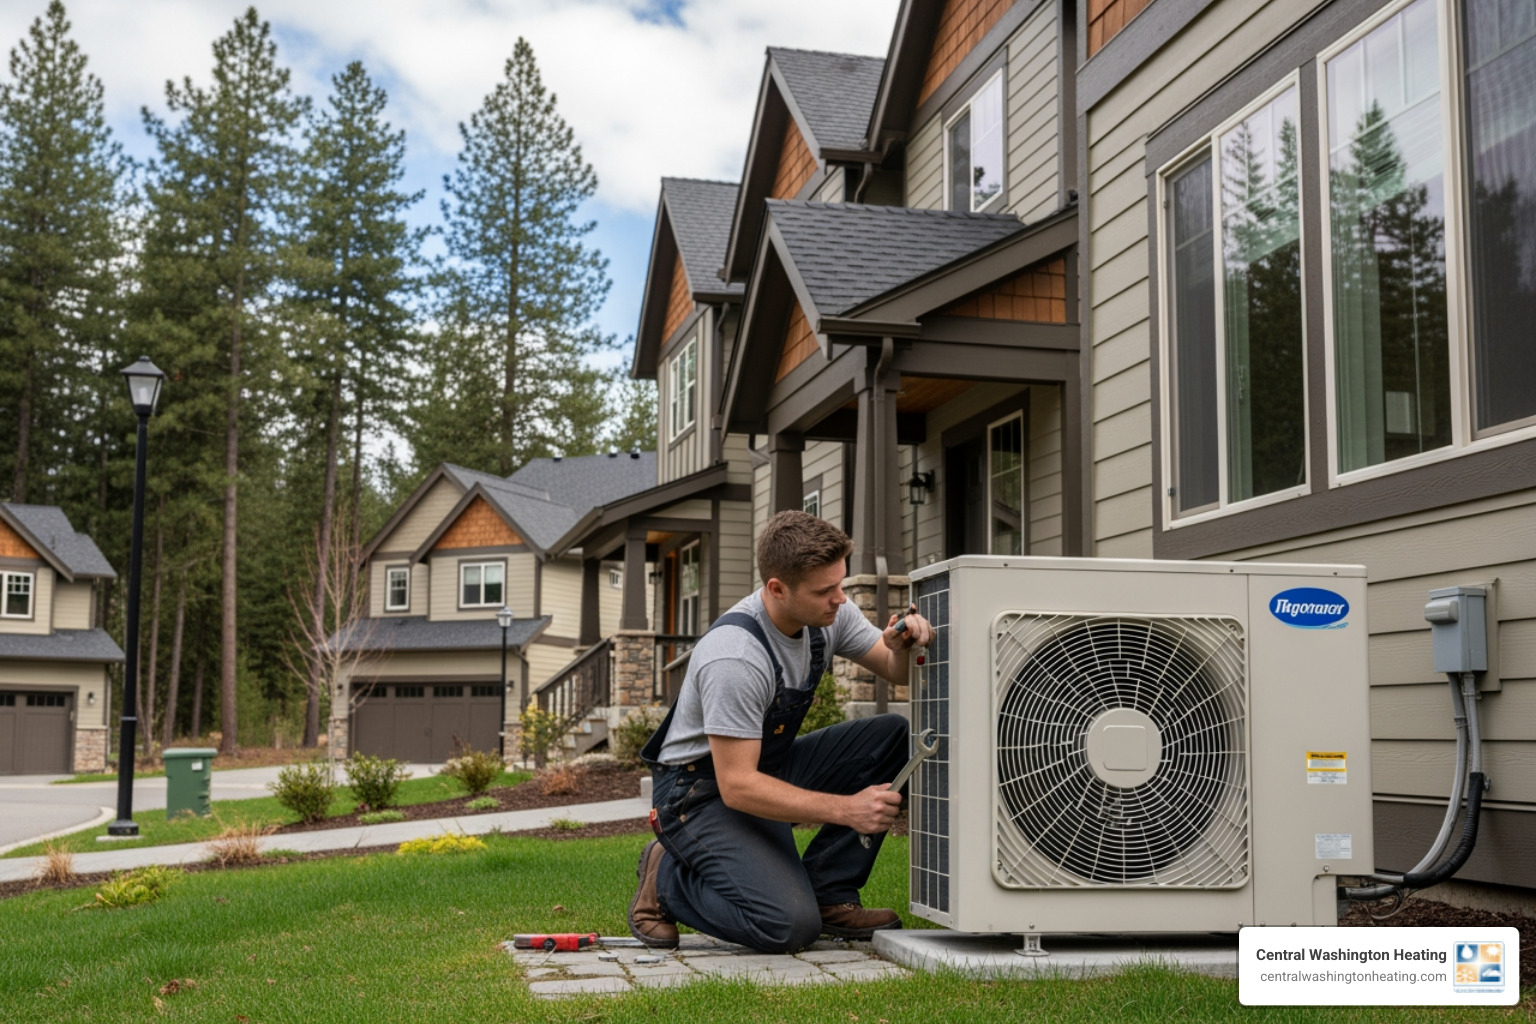
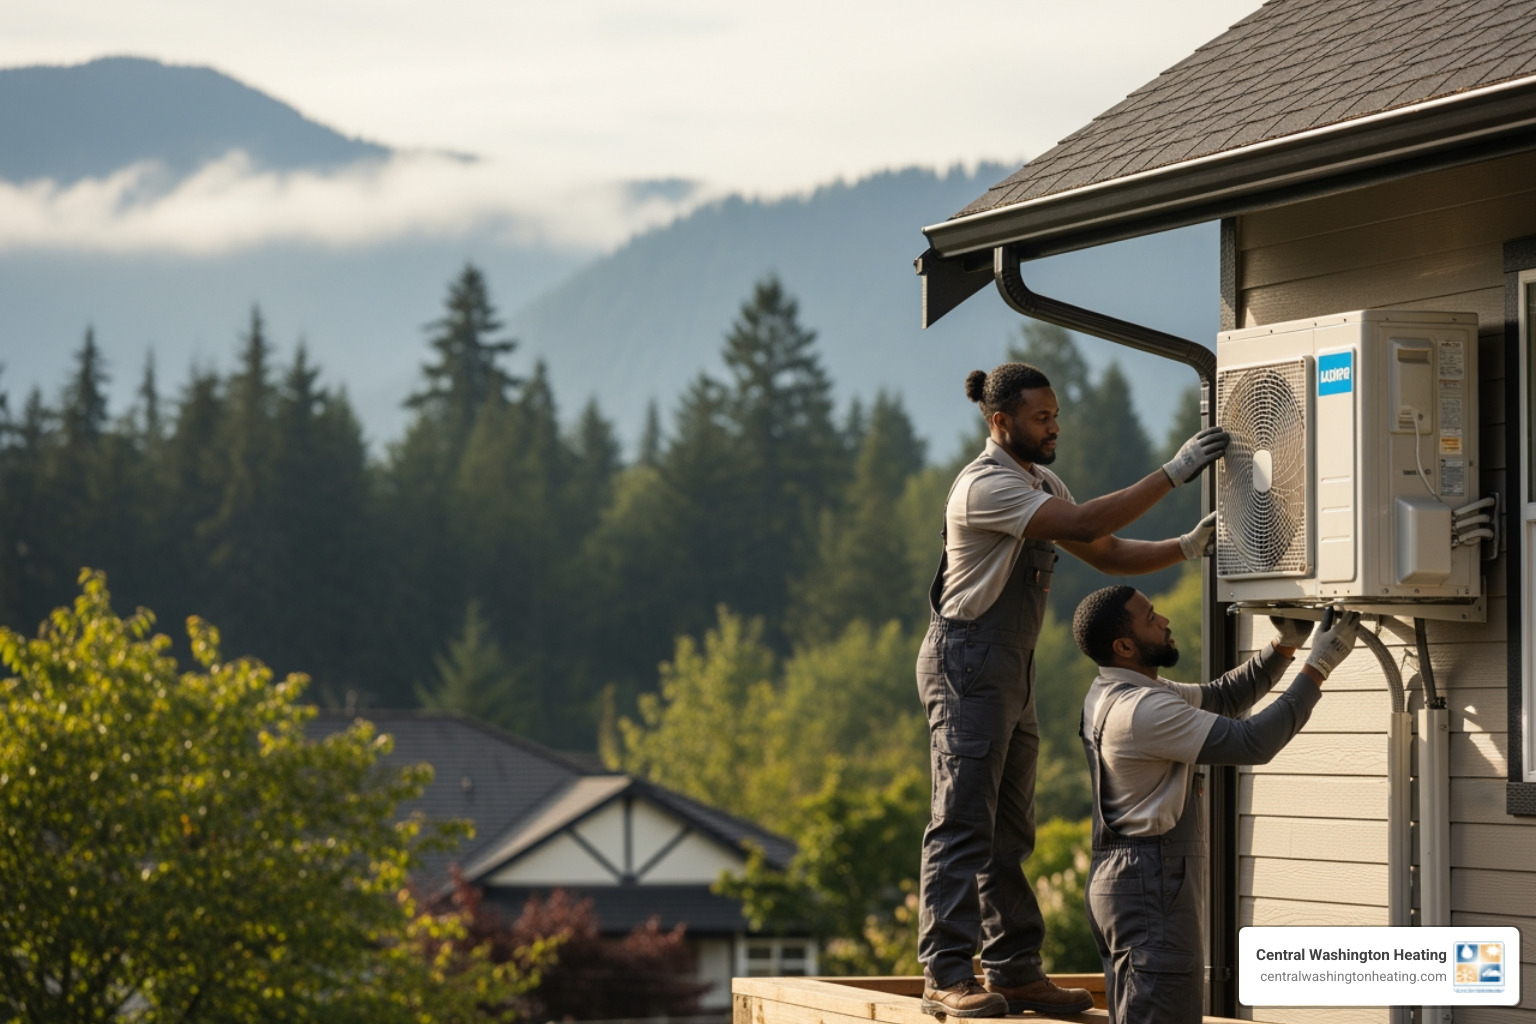
However, if you have run through these steps and your home comfort system still refuses to budge, it is time to call in the experts. At Central Washington Heating, we bring over 30 years of trusted HVAC expertise to homeowners across the Wenatchee Valley. As a family- and veteran-owned business, we are proud to serve our neighbors in Wenatchee, East Wenatchee, Leavenworth, Cashmere, Chelan, Entiat, and the surrounding areas with fast, reliable, and honest service.
Whether you need a quick diagnostic check, a system repair, or are ready to upgrade to a highly efficient smart thermostat, our licensed technicians are here to help.
Don't spend another uncomfortable day guessing what's wrong with your heating or cooling. Request Service Today to schedule your visit!


.svg)


.svg)


